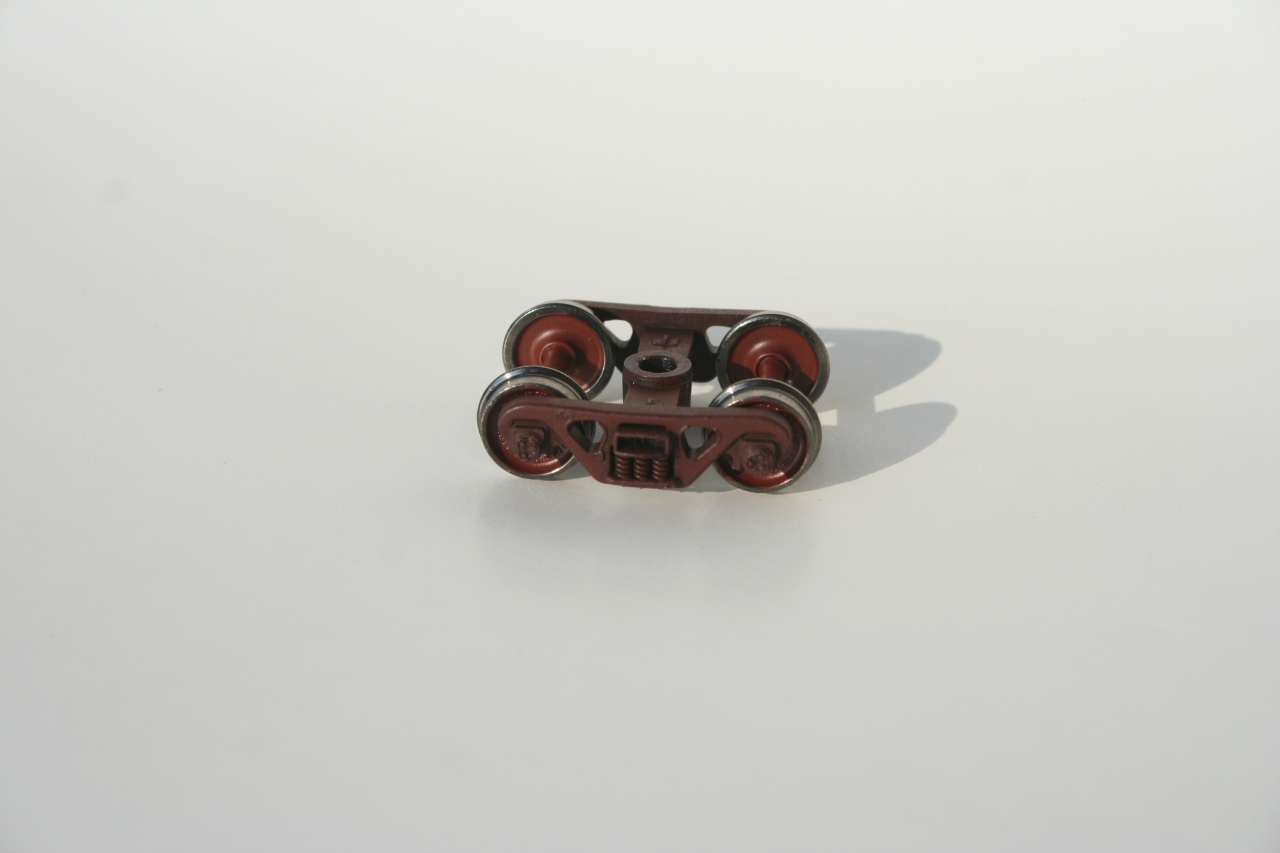
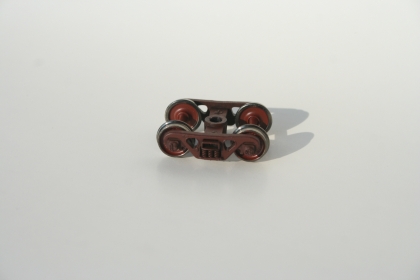
Paint the truck frames and wheel sets brown to give them the look of old weathered trucks and wheels. Don't paint the wheel tread or the outer lip of the tread. This gives the look of a wheel sets that have been through the retainers in hump yards.
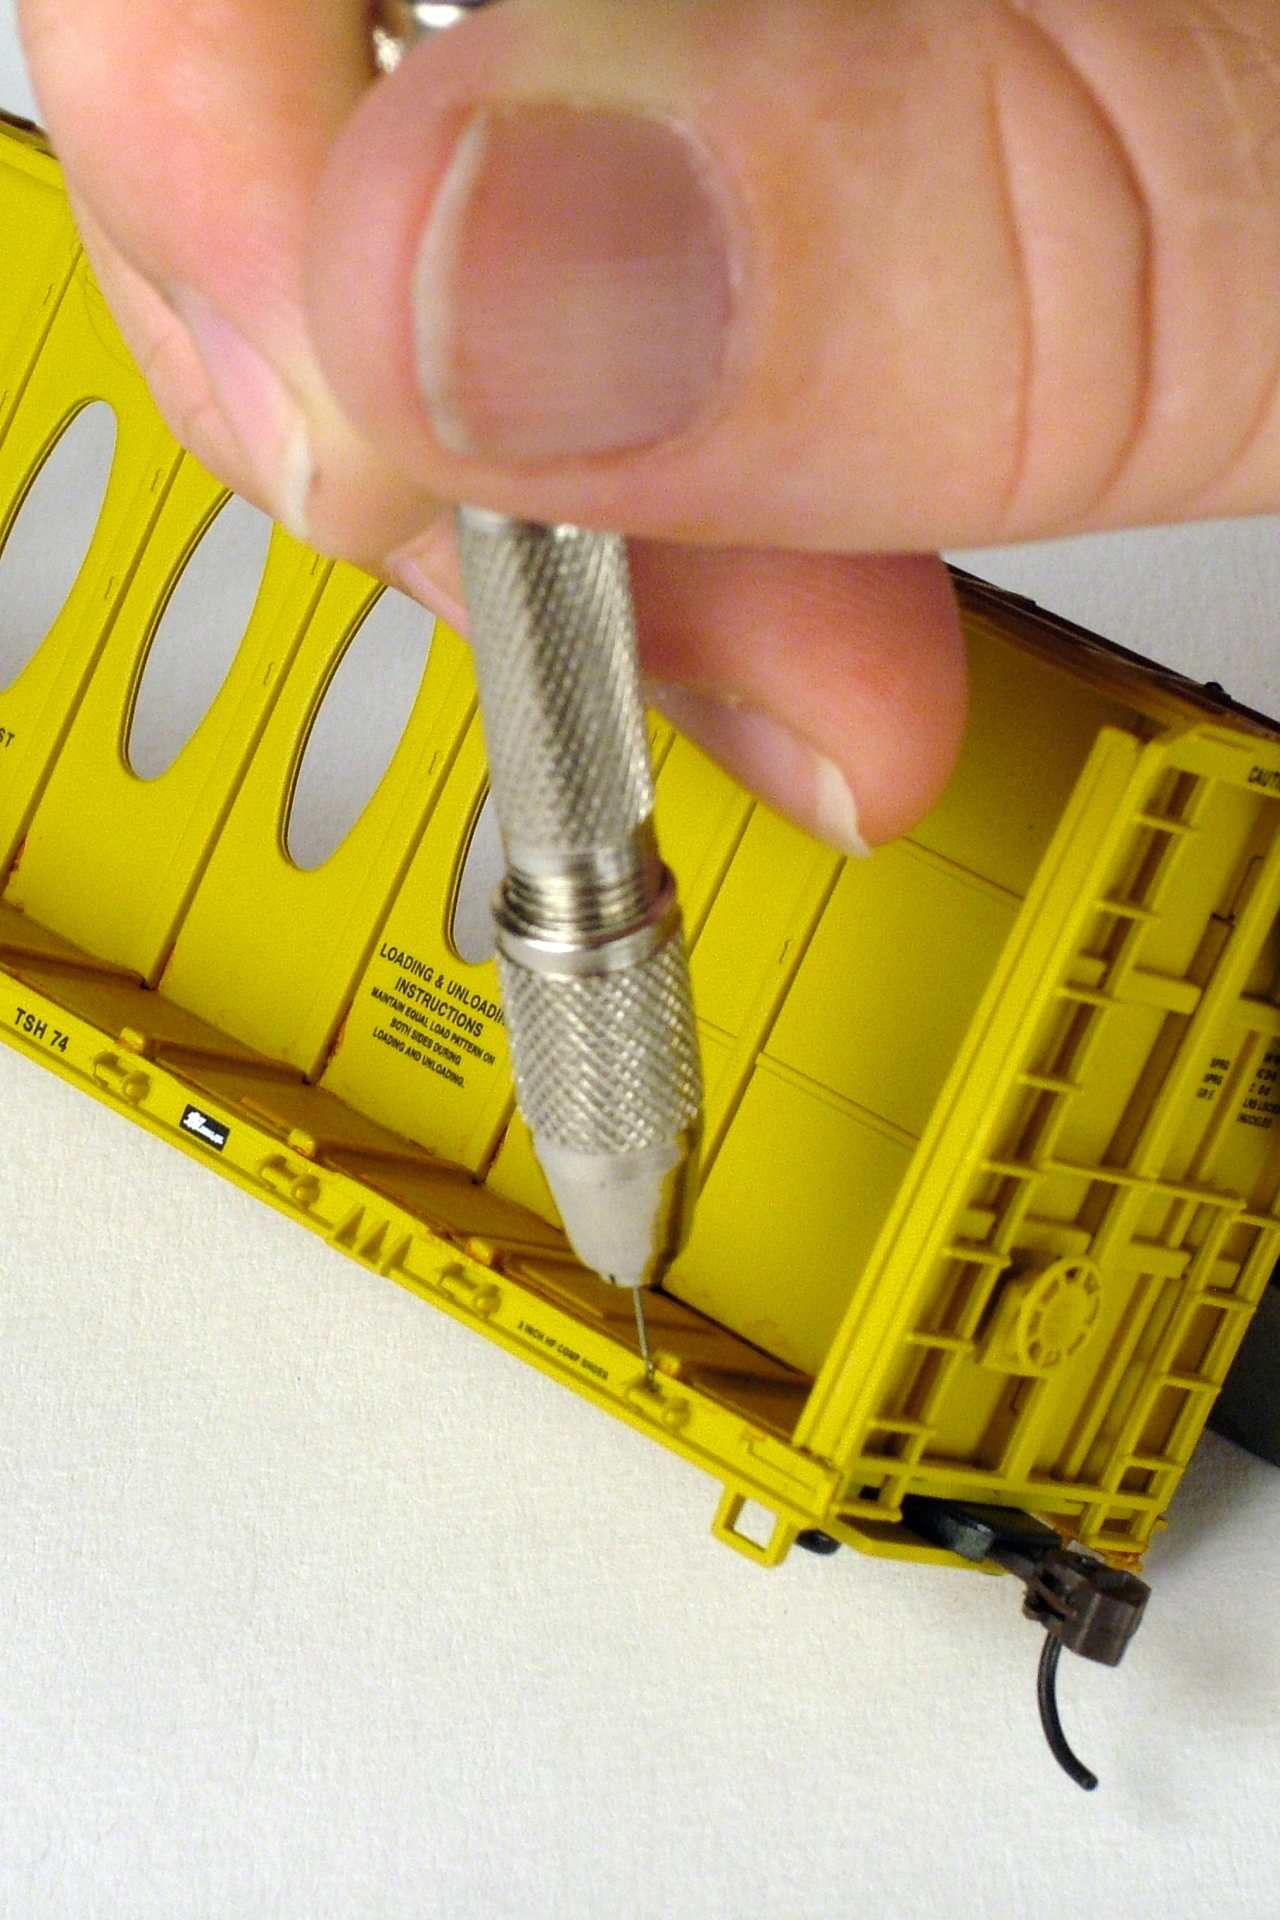
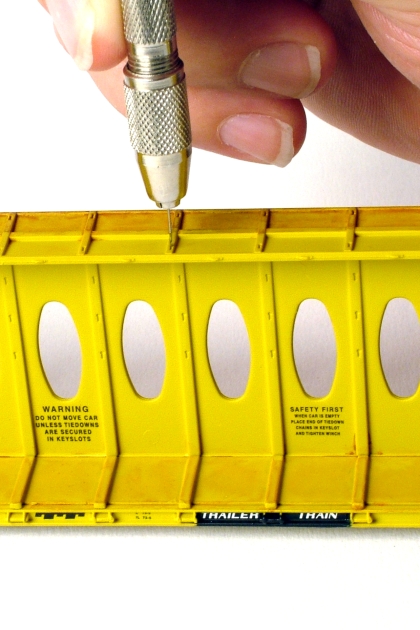
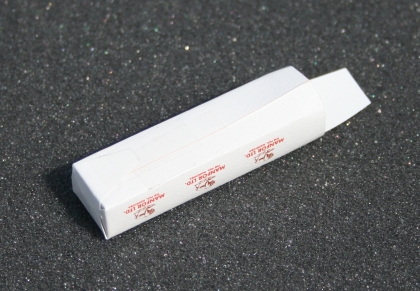
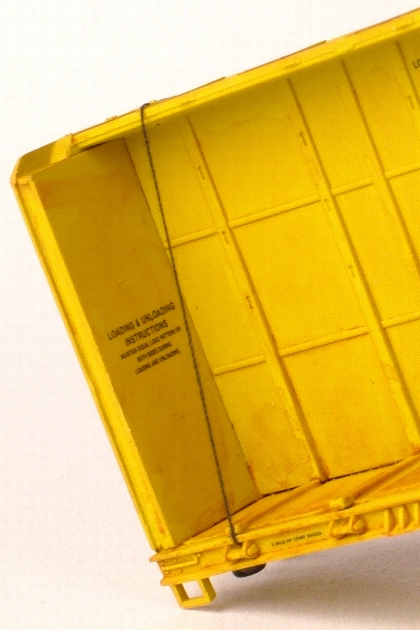
Regardless of wheather the model is going to be loaded or empty, drill #80 holes in the sill above the cable spools at the angle shown.

If the car is going to be empty, drill all three holes in each vertical load support. The drill in the picture is at an angle to show where to drill the holes. Drill the holes straight through the center beam.

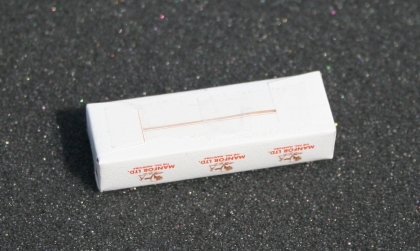
If the model is going to be loaded, drill the holes in the top cross beam as shown in the picture.

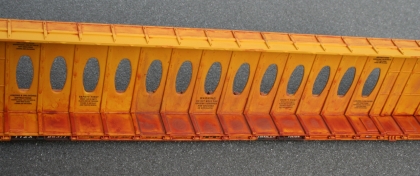
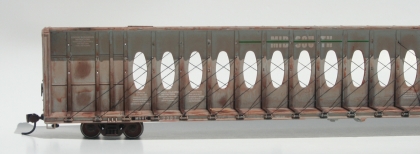
Give the model a heavy coat of Rust All.

Give the deck a second heavy coat of Rust All. The area right of the fourth load support has a second coat of Rust All.
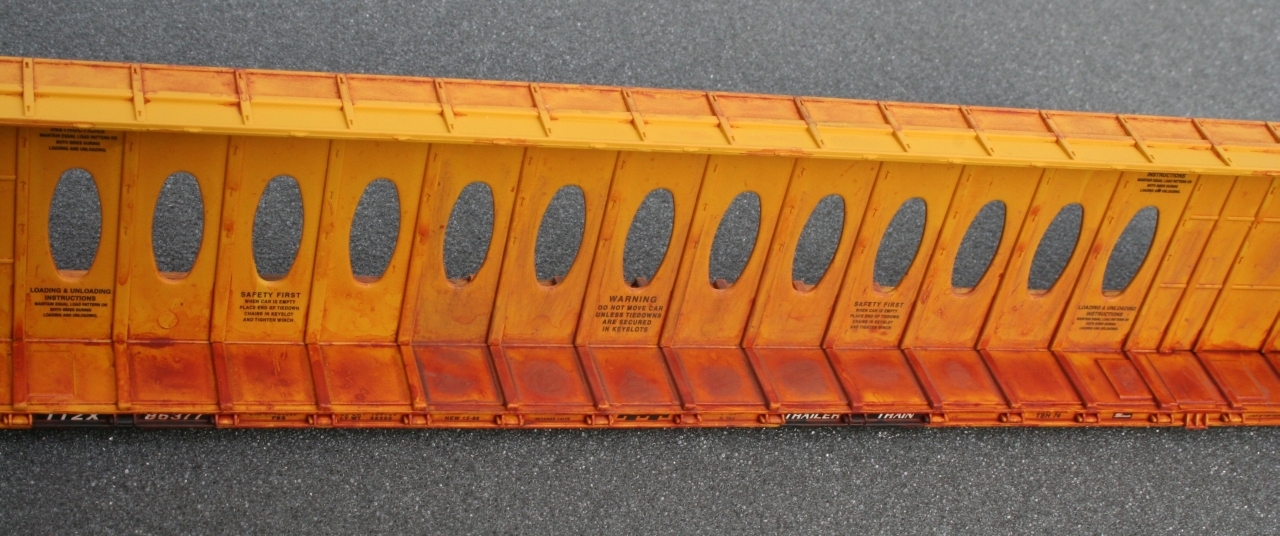
To the right of the fifth load support you can see the area that I applied the light brown chalk.
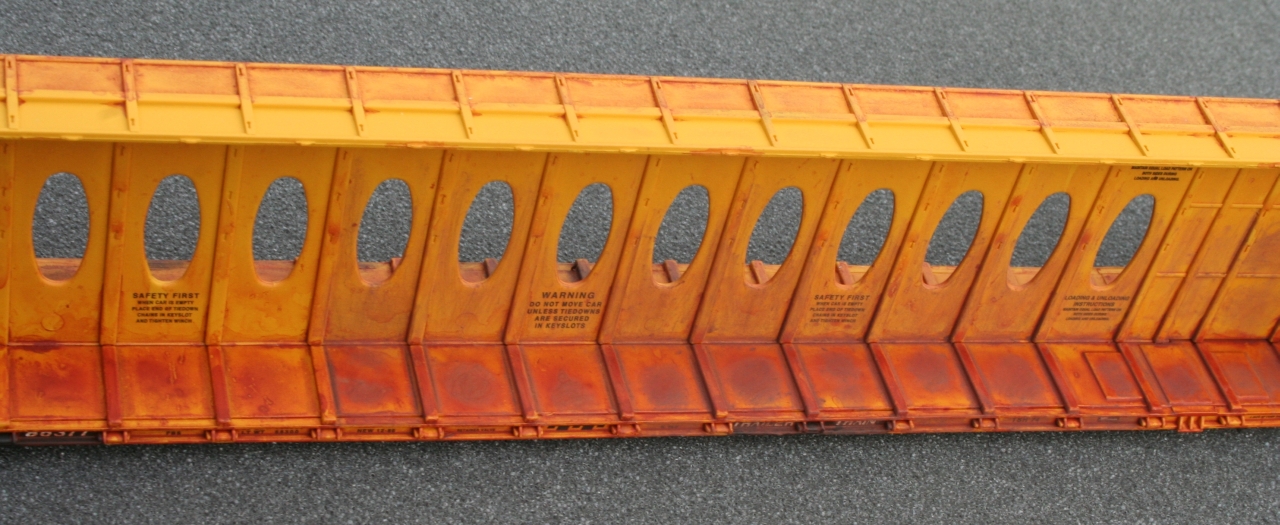
To right of the third load support I applied dark brown chalk.
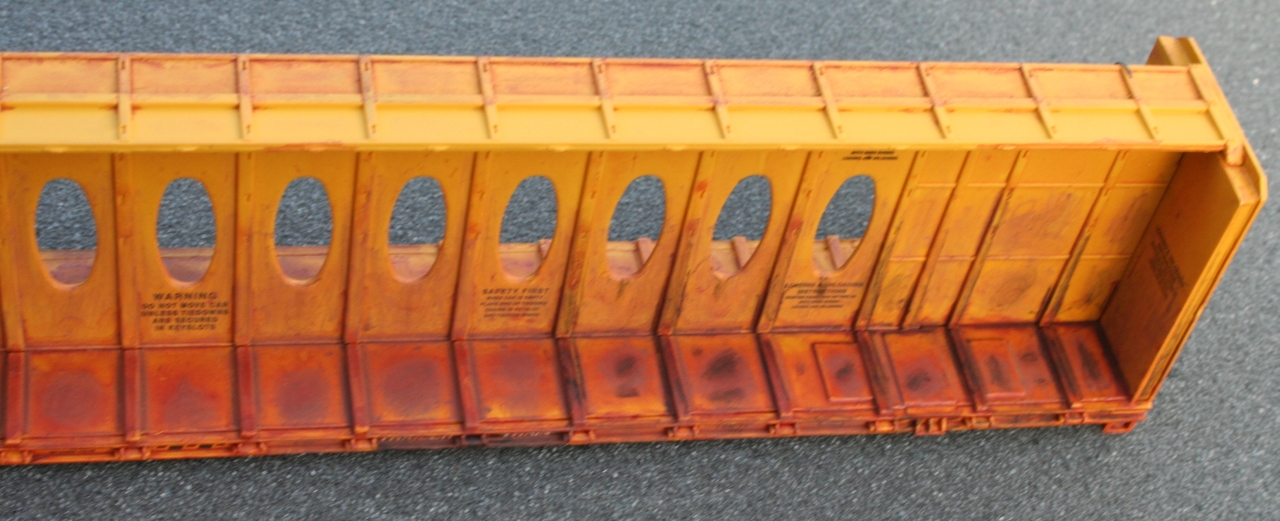
I applied black chalk to the six panels to the left of the end of the car.

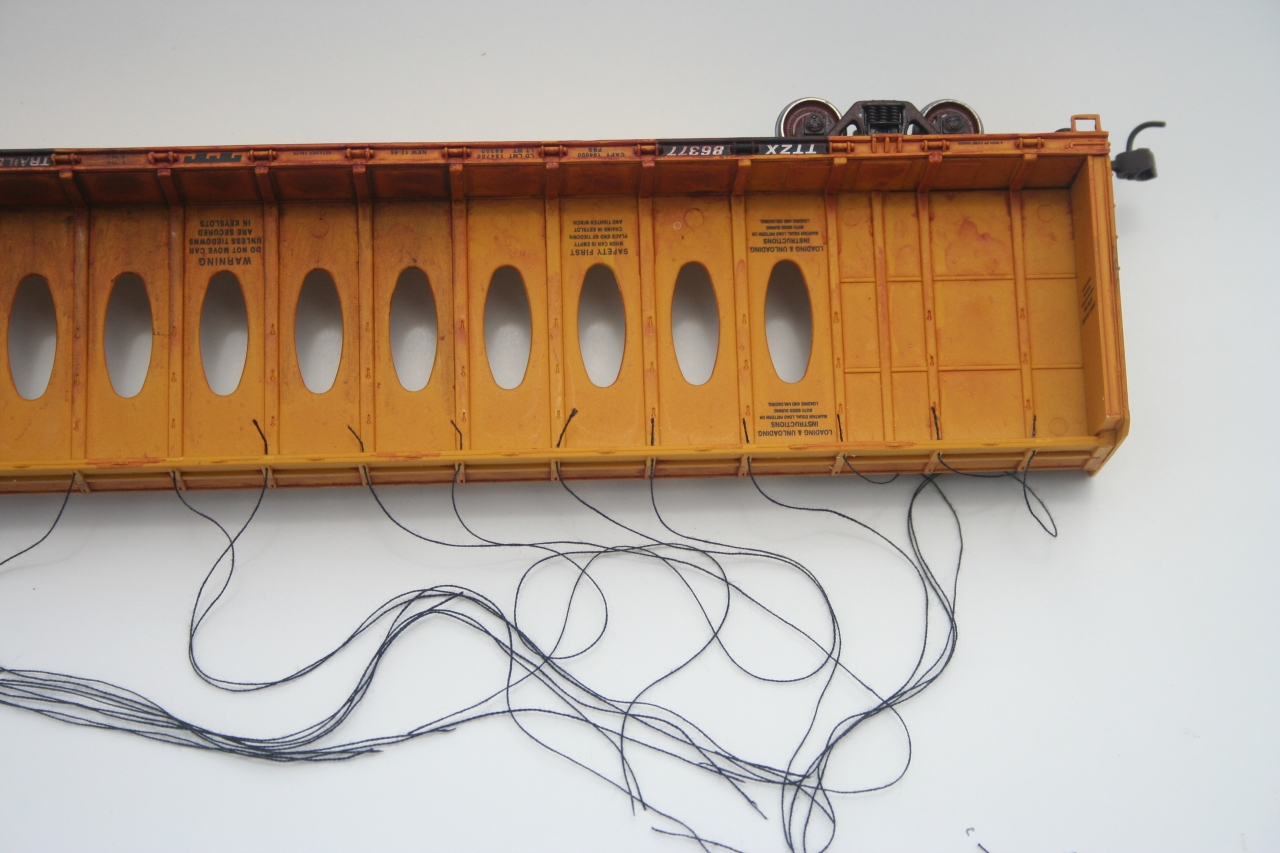
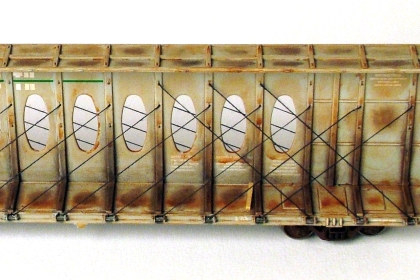
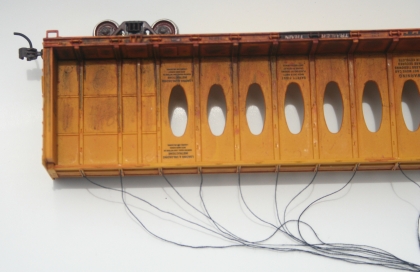
If you want an empty car, starting with the first cable spool, thread the black polyester "cable" from the inside and glue it fron the inside. Thread the "cable" the center hole in the third upright to the right. Turn the car over and thread the "cable" through the third cable spools to the right of the upright that the "cable" came through. Pull the "cable" tight and glue on the inside of the side sill. Continue this pattern until you only have three cable spools left.

Finish the "cable" on the last three cable spools on this side of the car. Cut these last three "cables" flush with the center beam on the opposite side of the car.
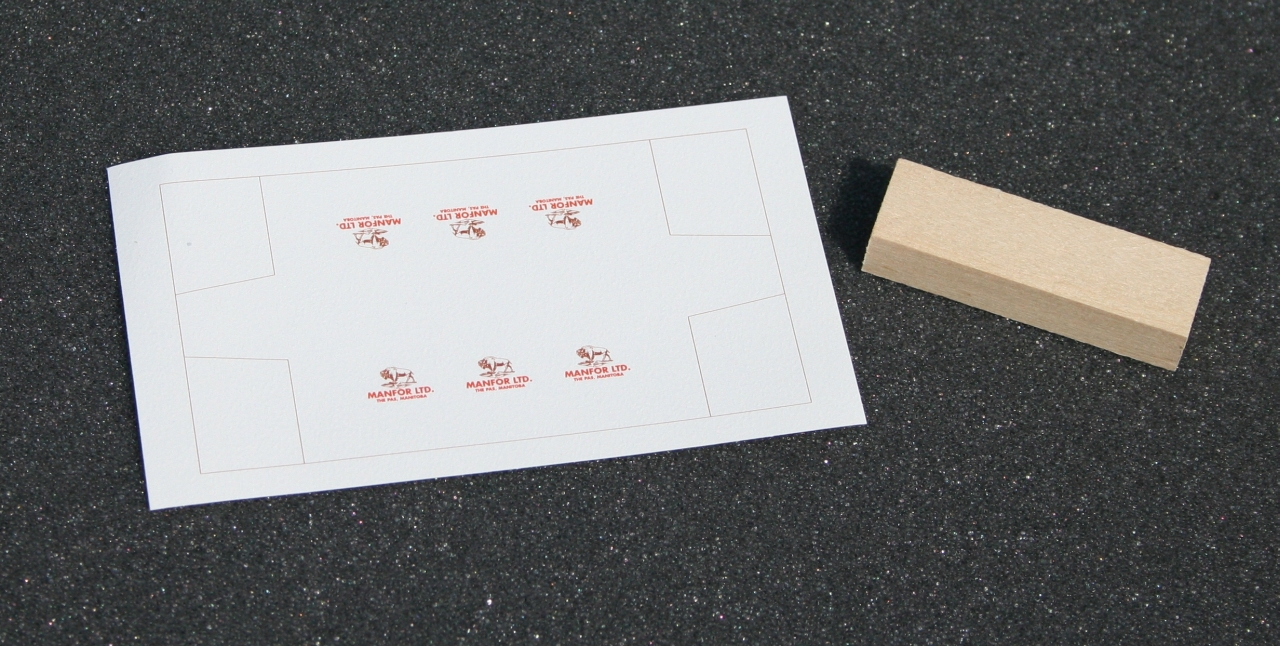
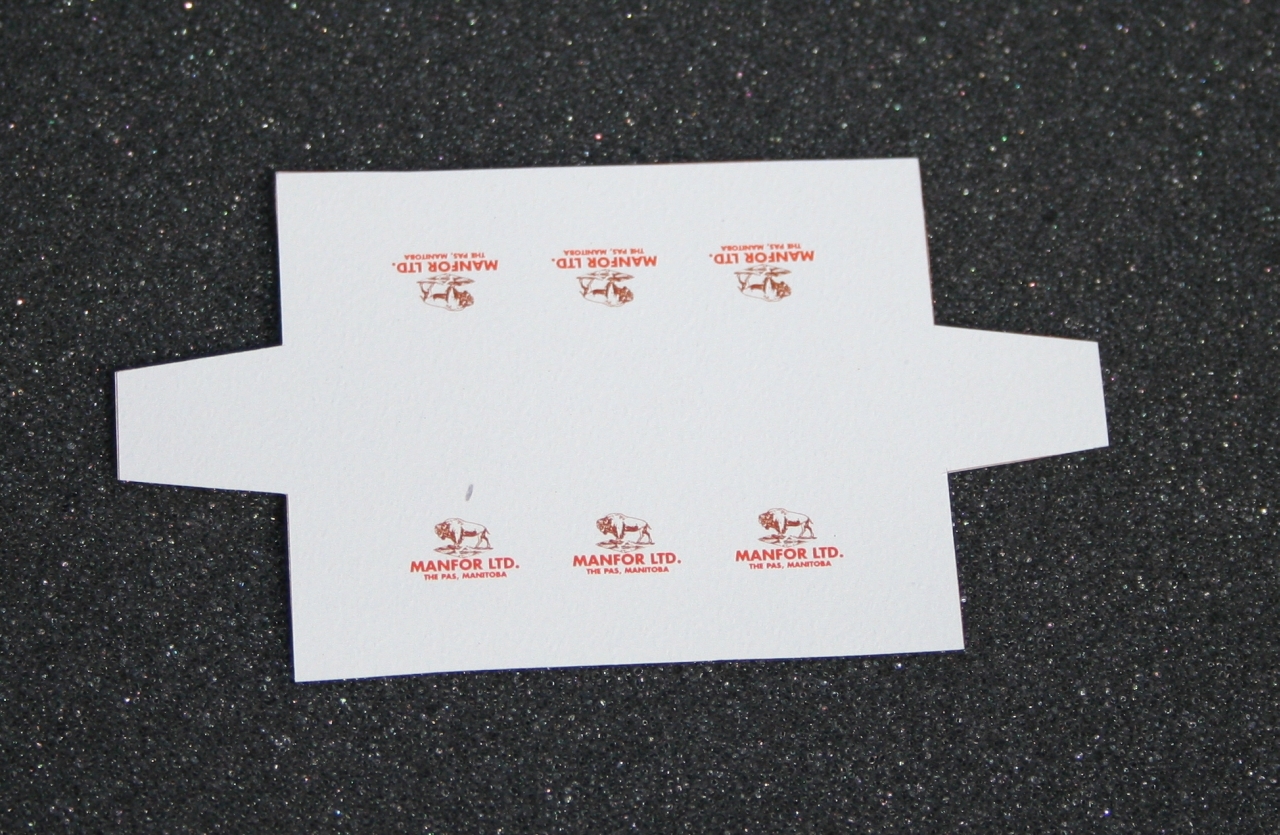
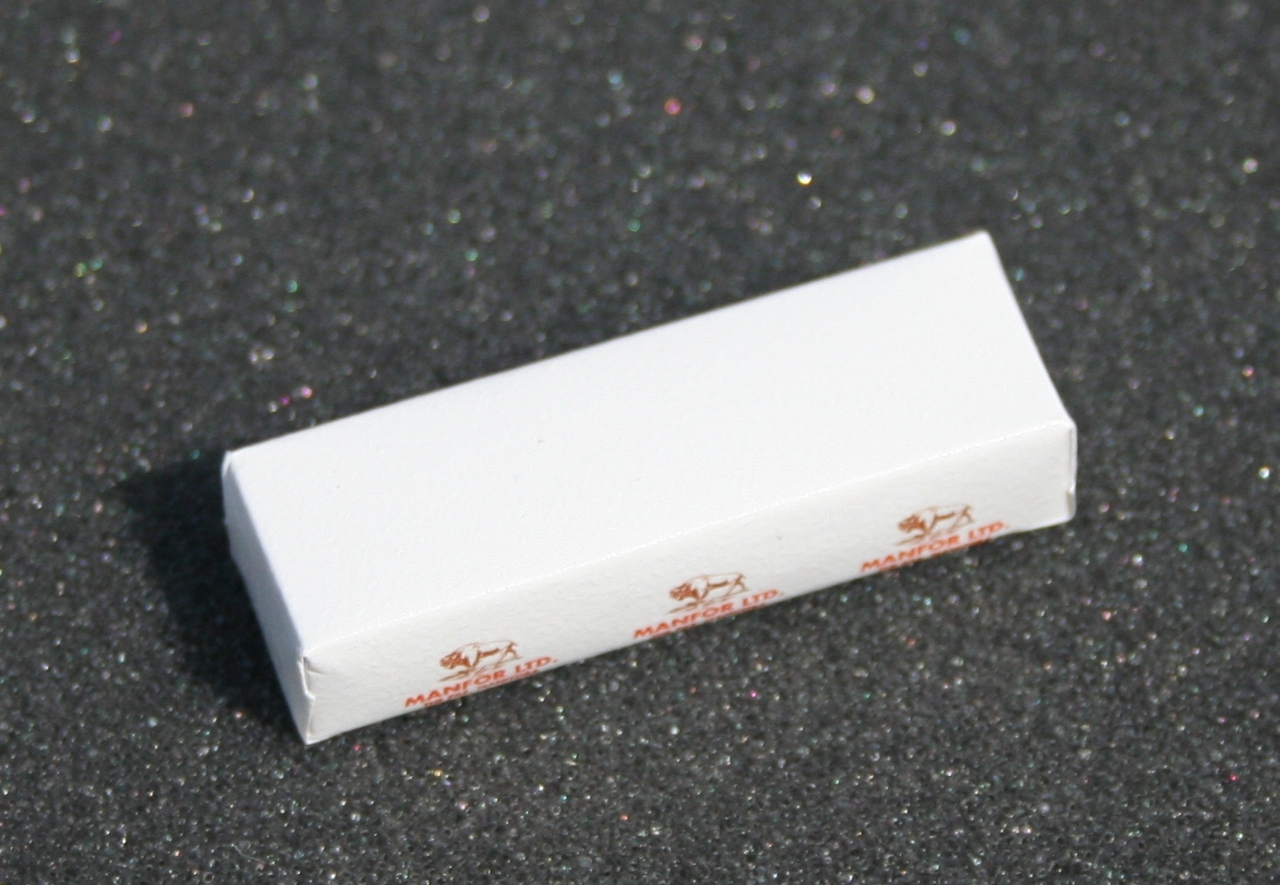
Wraps for the lumber loads and the blocks that you have to cover with them.
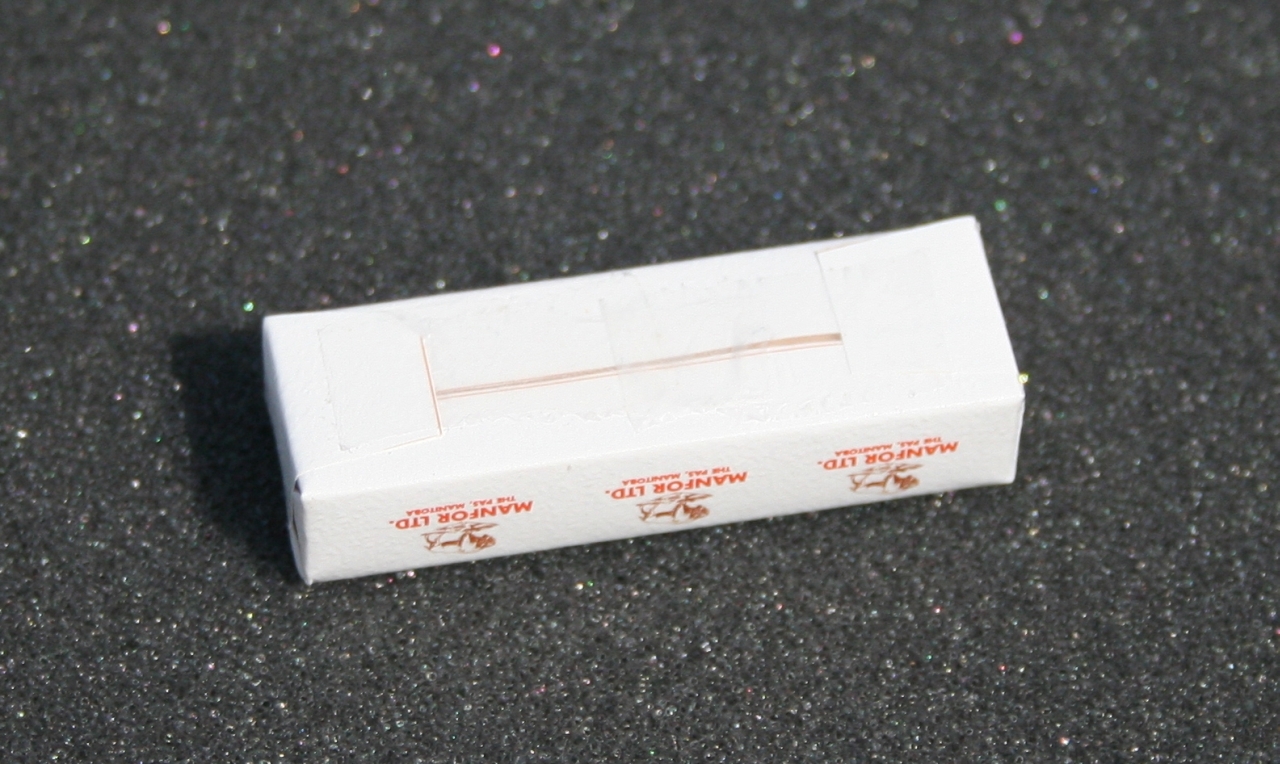
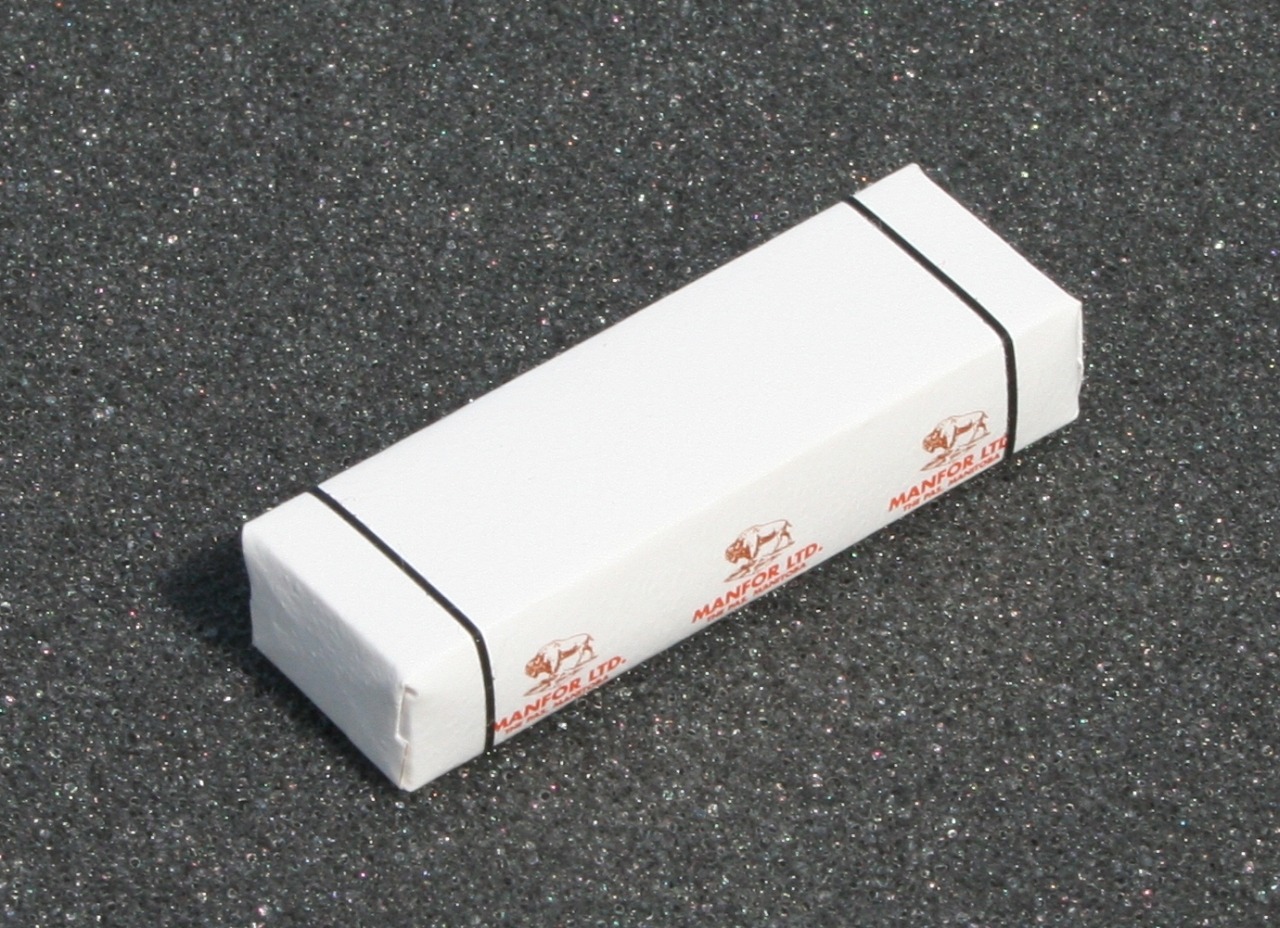
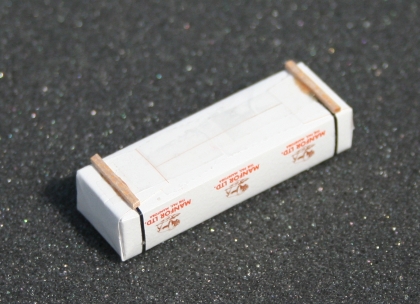
Cut the wraps on the lines on the wrapper. Wrap the wrapper around the block as tight as possible. Use Scotch tape to tape the wrapper to it self and not to the block. Remember, the tighter that you can get the wrapper, the better the load will look. Fold the end if the wrapper over and tape it to the bottom of the bundle. Remember, get it as tight as you can. Fold the other end over and tape to the bottom of the bundle. Again, get it as tight as you can. Top of completed lumber bundle.
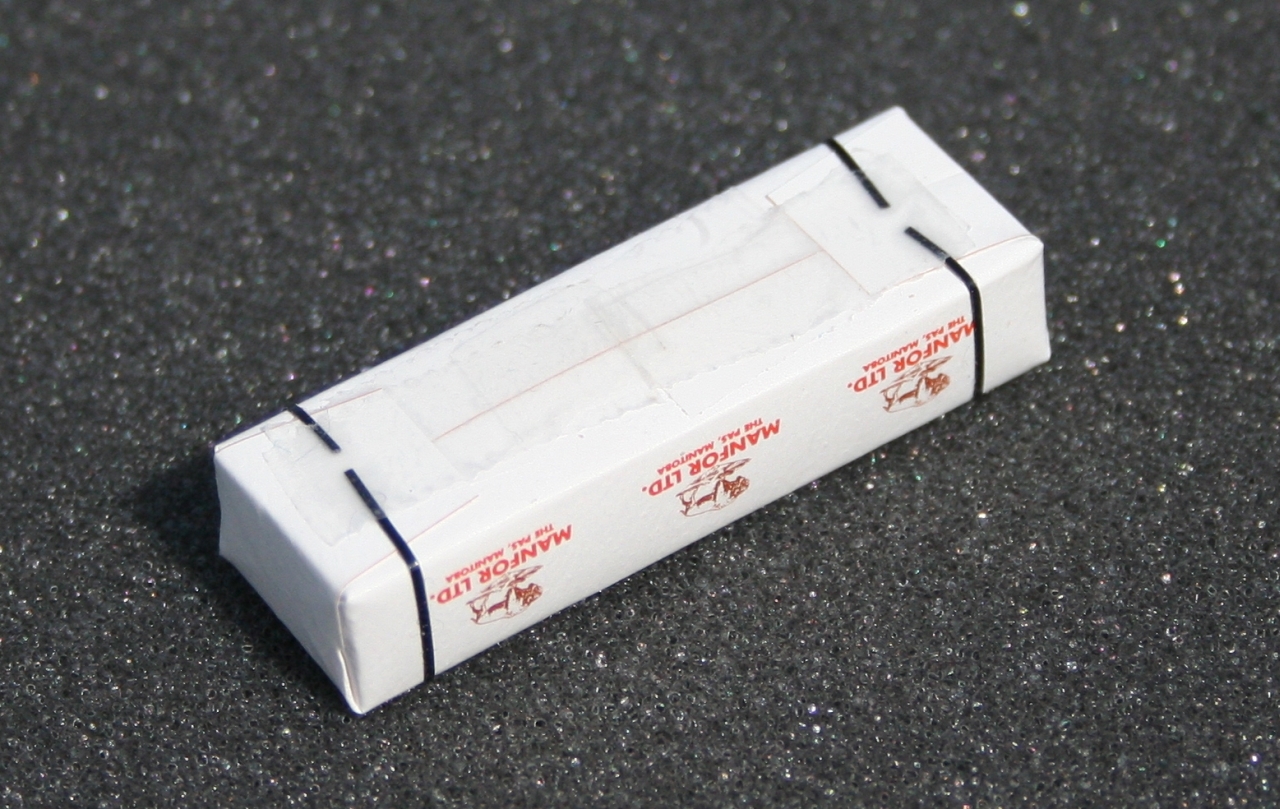
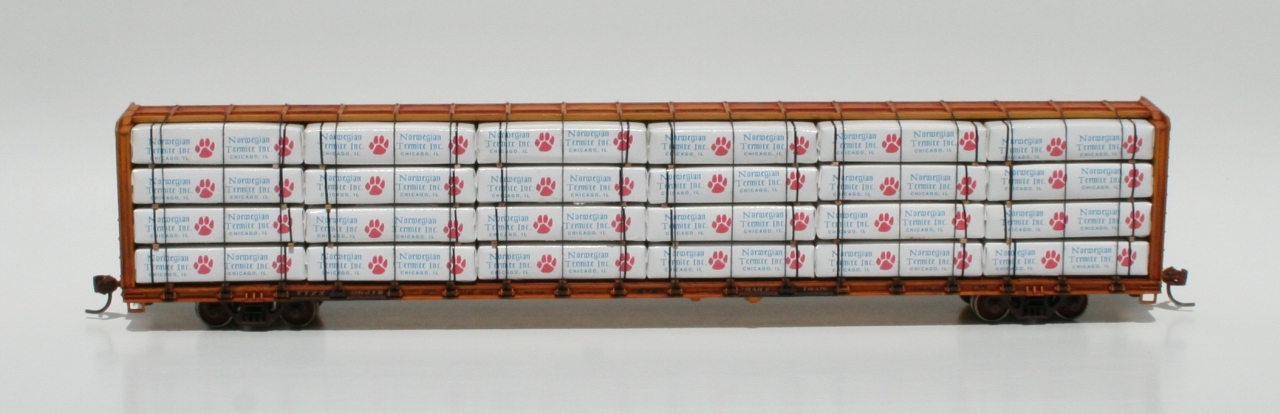
Use Pactra Trim tape, 1/32 inch width, for "banding." The "banding" should be 1/4 inch from the ends of the bundle. Bottom view of bundle showing how I did the "banding." Notice that I have used tape to secure the "banding." Use a block as a giude, set up the NWSL Chopper and cut the dunnage. The bottom layer of lumber bundles do not get dunnage under them. Attach the dunnage to the lumber bundles with Walthers Goo. Make sure that the dunnage is under the "banding" on the bundles. For a loaded car, feed the "cable" from under side of the cross beam on the top of the car and glue in place. Trim the "cables" flush with the bottom side of the cross beam. Place the lumber bundles in the car. Feed the "cable" through the cable spool, pulling the "cables" tight. Glue the "cable" in place fron the inside of the side sill. This picture shows how the "cable" should run, but with out the lumber bundles in place. Completed center beam flatcar with load.
![]()
![]()
![]()
![]()
![]()
![]()
![]()
![]()

![]()
![]()
![]()
![]()
![]()
![]()
![]()
![]()

Last update to this page was July 29, 2012


