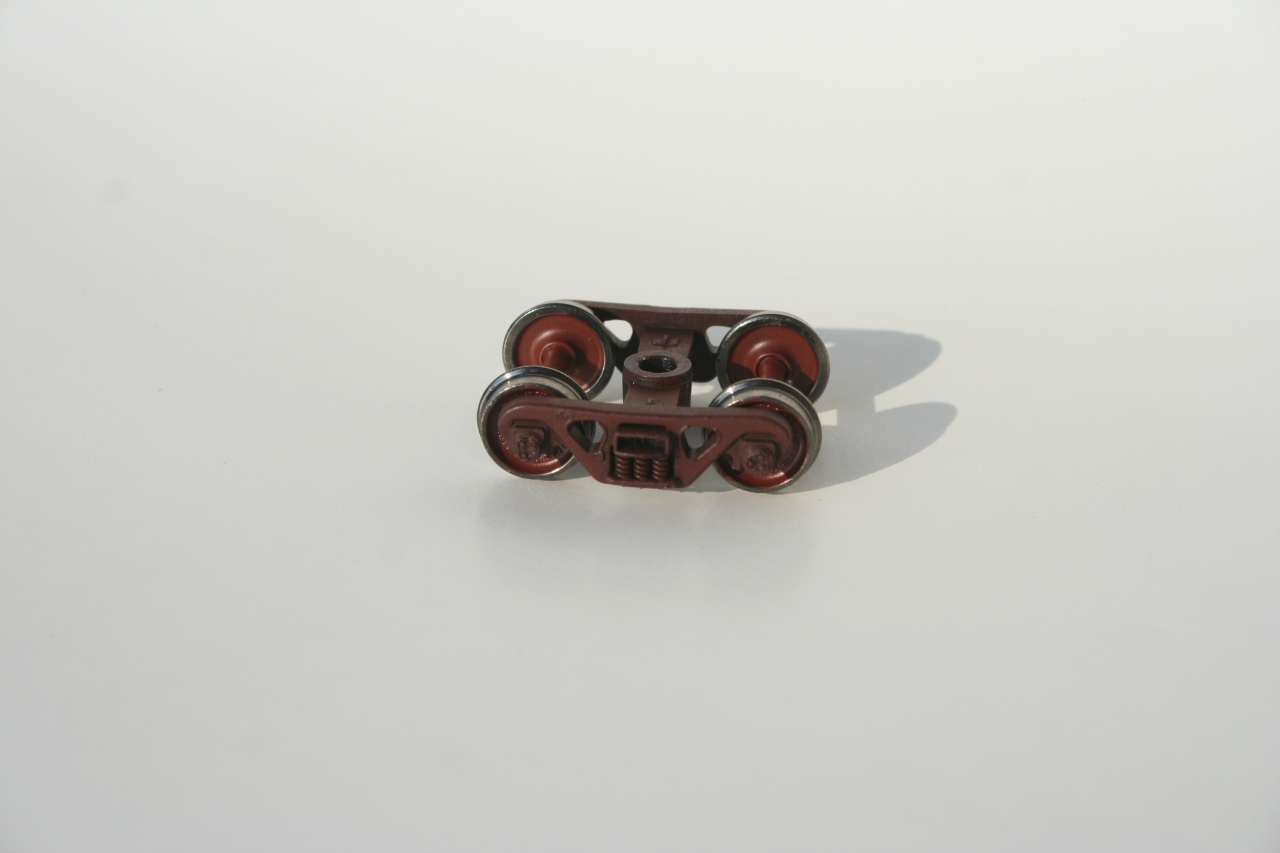
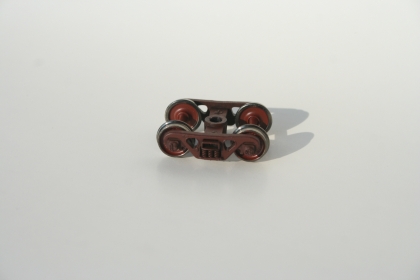
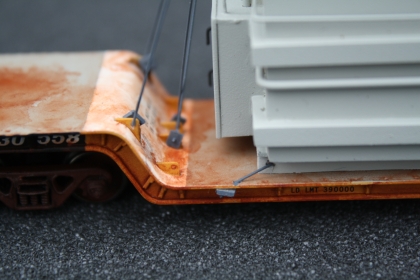
Paint the truck frames and wheel sets brown to give them the look of old weathered trucks and wheels. Don't paint the wheel tread or the outer lip of the tread. This gives the look of a wheel sets that have been through the retainers in hump yards.
Paint the couplers rust color. Notice the difference between the two couplers.

Add brake pipe detail to car ends. Install grab irons supplied with car. Brake pipe adn grab irons get painted the color of the car.

Brake pipe details as seen from the otherside of car.
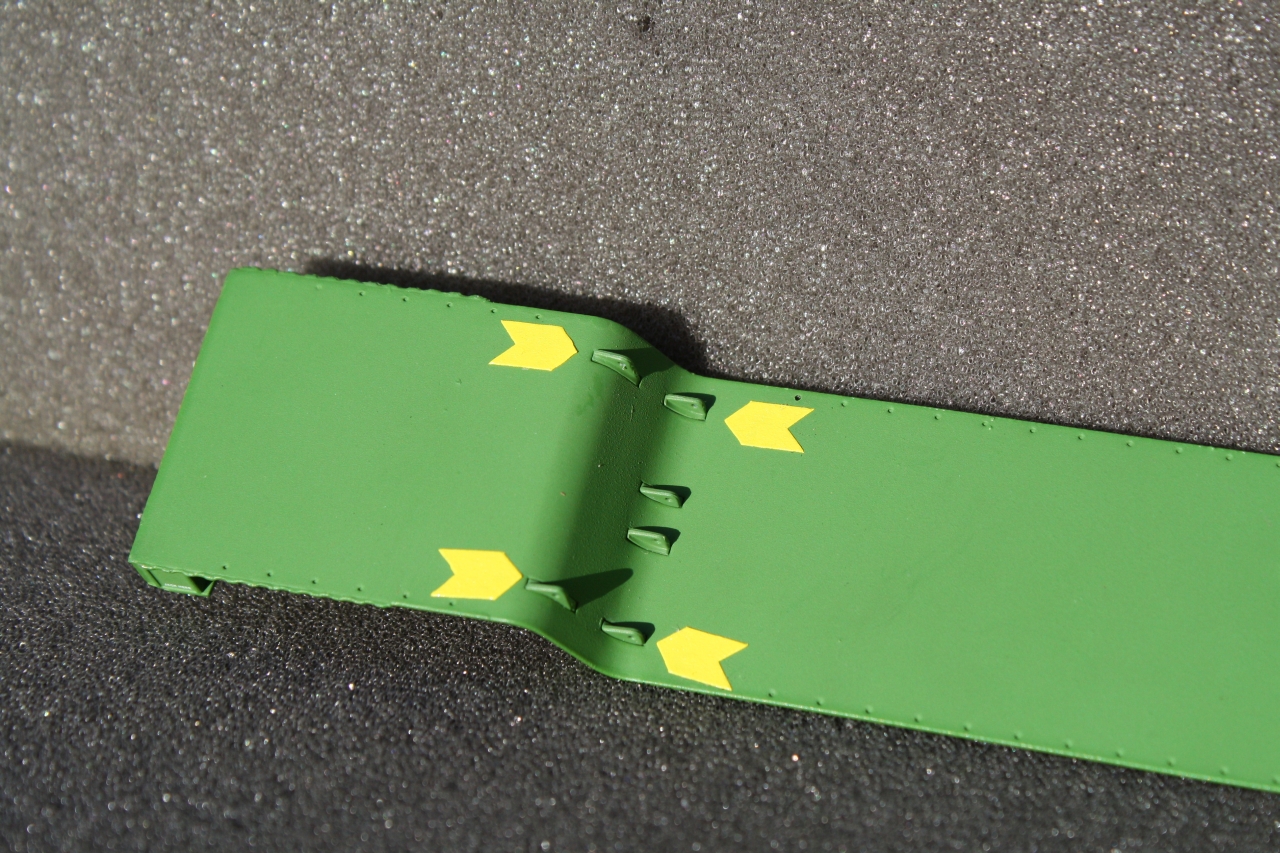
Use a #77 drill bit to clean out the holes for the tie downs.

Use a #77 drill bit to clean out the holes for the tie downs in the deck.
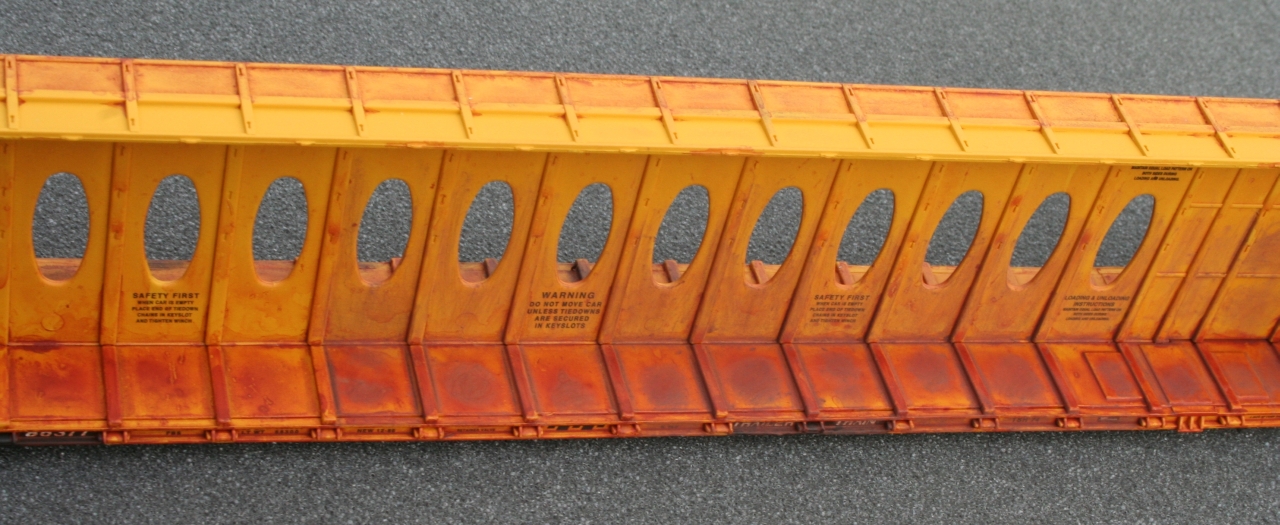
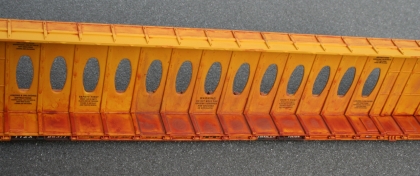
All metal deck flatcars weather in a smiular way. Depending on age and the amount of use will determine how the car weathers. The pictures below are of a cnter beam car, but the same technics apply to weathering any metal deck flatcar.

Give the model a heavy coat of Rust All.

Give the deck a second heavy coat of Rust All. The area right of the fourth load support has a second coat of Rust All.
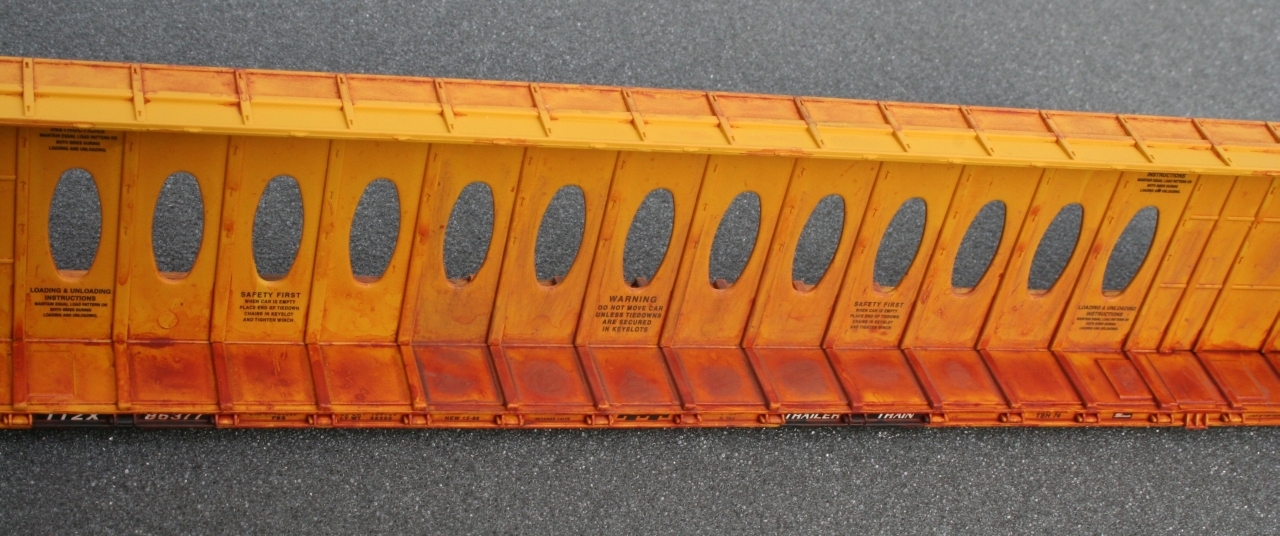
To the right of the fifth load support you can see the area that I applied the light brown chalk.
To right of the third load support I applied dark brown chalk.
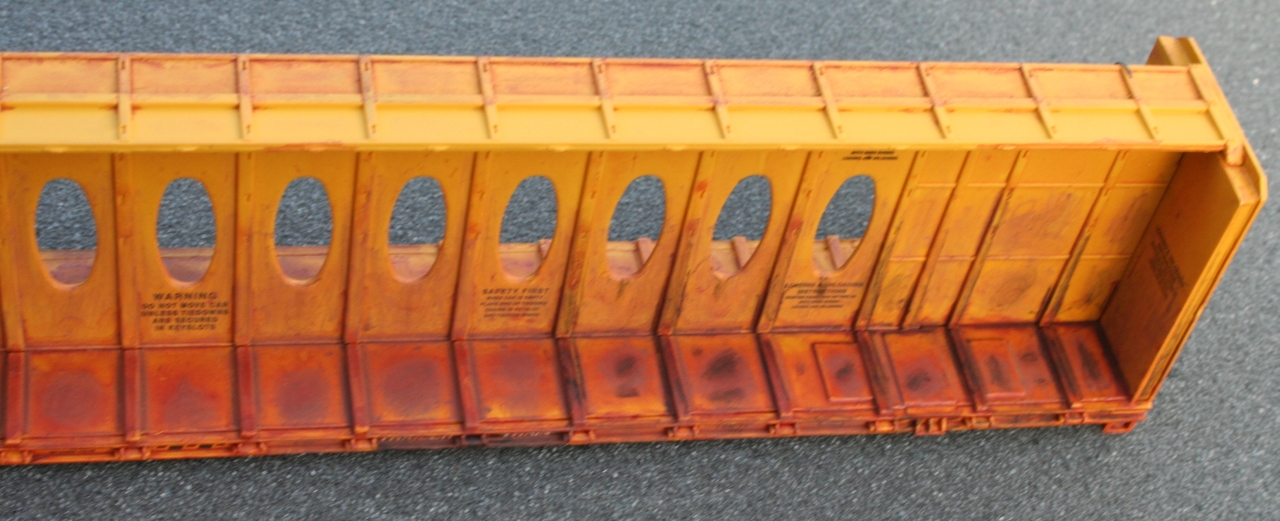
I applied black chalk to the six panels to the left of the end of the car.
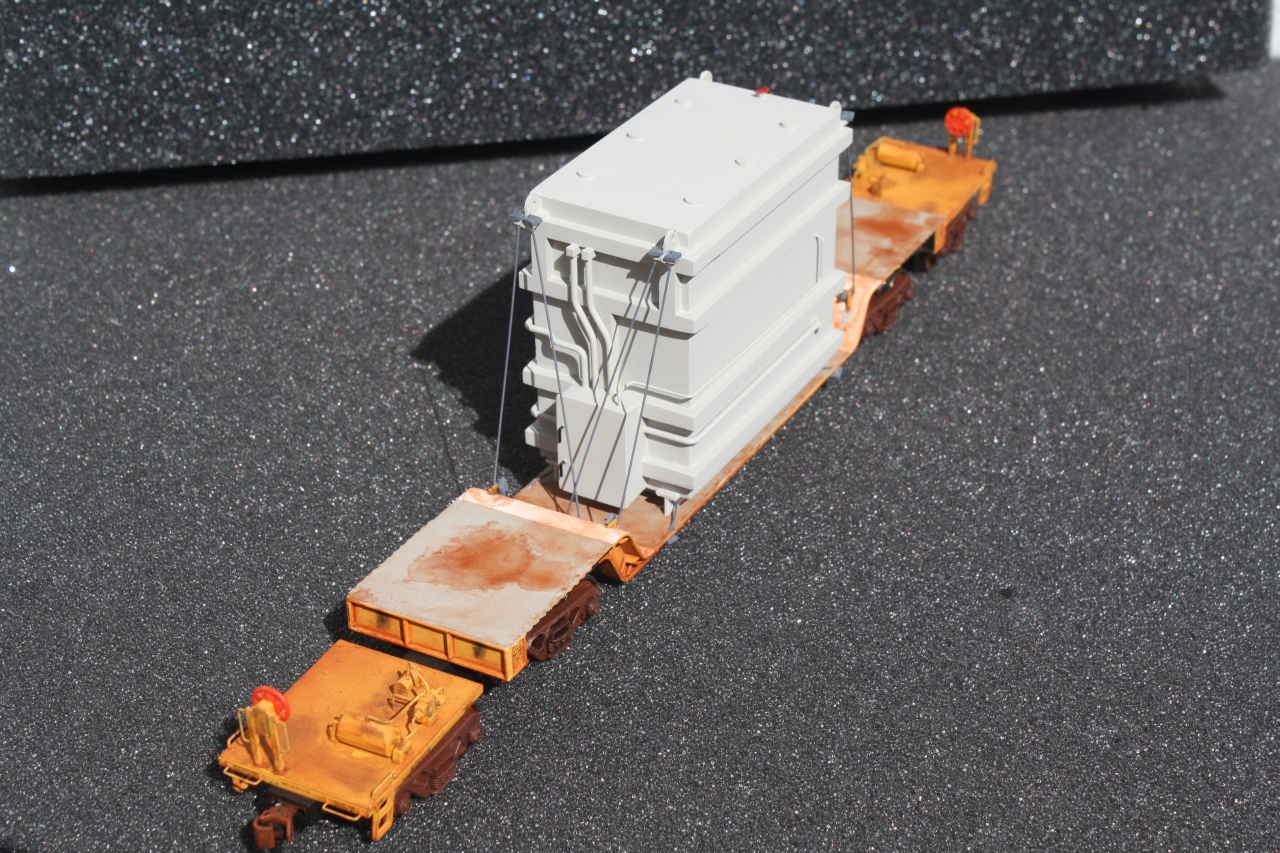
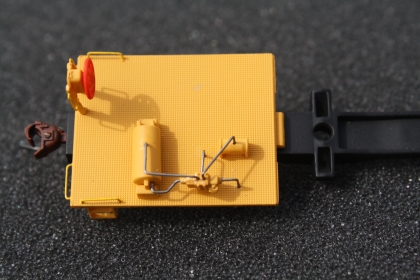
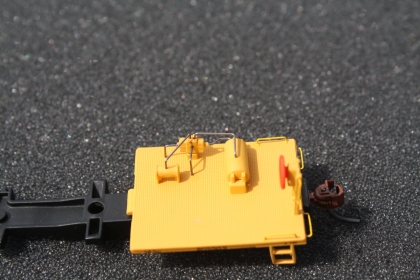
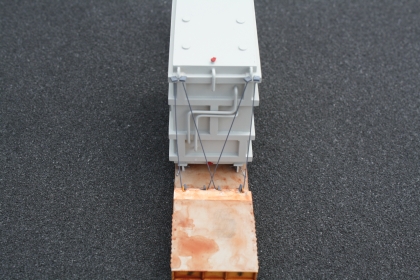
Weathered car with transformer installed.

Weathered car with transformer installed.
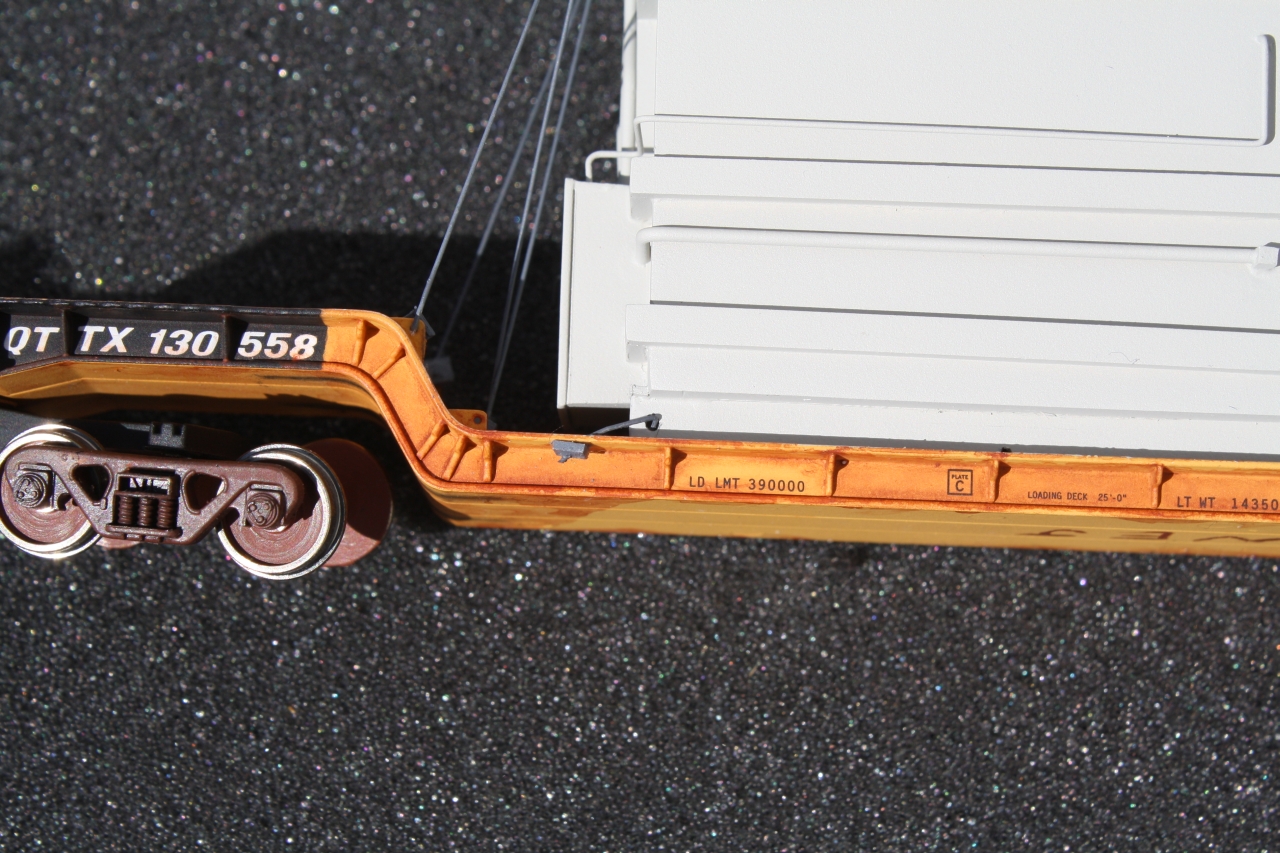
Weathering on the sides of car. Remember to put the grease/dirt on the underside of the car in the area where the wheels throw up grease, dirt, and mud.
Remember the sides MUST be the same height and width.
Both ends MUST be the same width and the same height as the sides.
The top and bottom MUST be the same width as the ends, and the same length as the sides are wide, less .060 inches.
Scribe .030 in from the edge of the side panel.

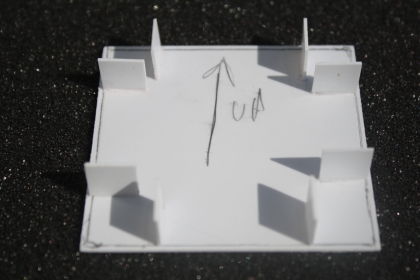
Cut Scrap .030 styrene for braces. Make sure the braces are square. Glue the braces in .030 from the edge of the side panel.

Glue the first end panel to the side panel..
Glue the second end panel to the side panel.
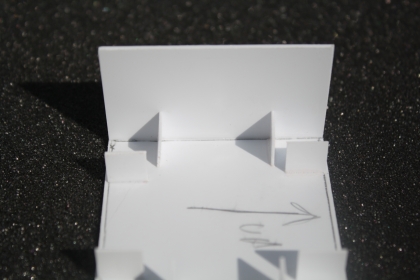
Glue the top panel to the side panel.
Glue the bottom panel to the side panel.
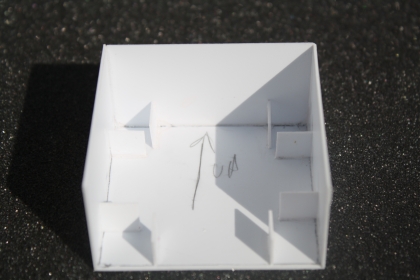
Glue second side panel to the "box."

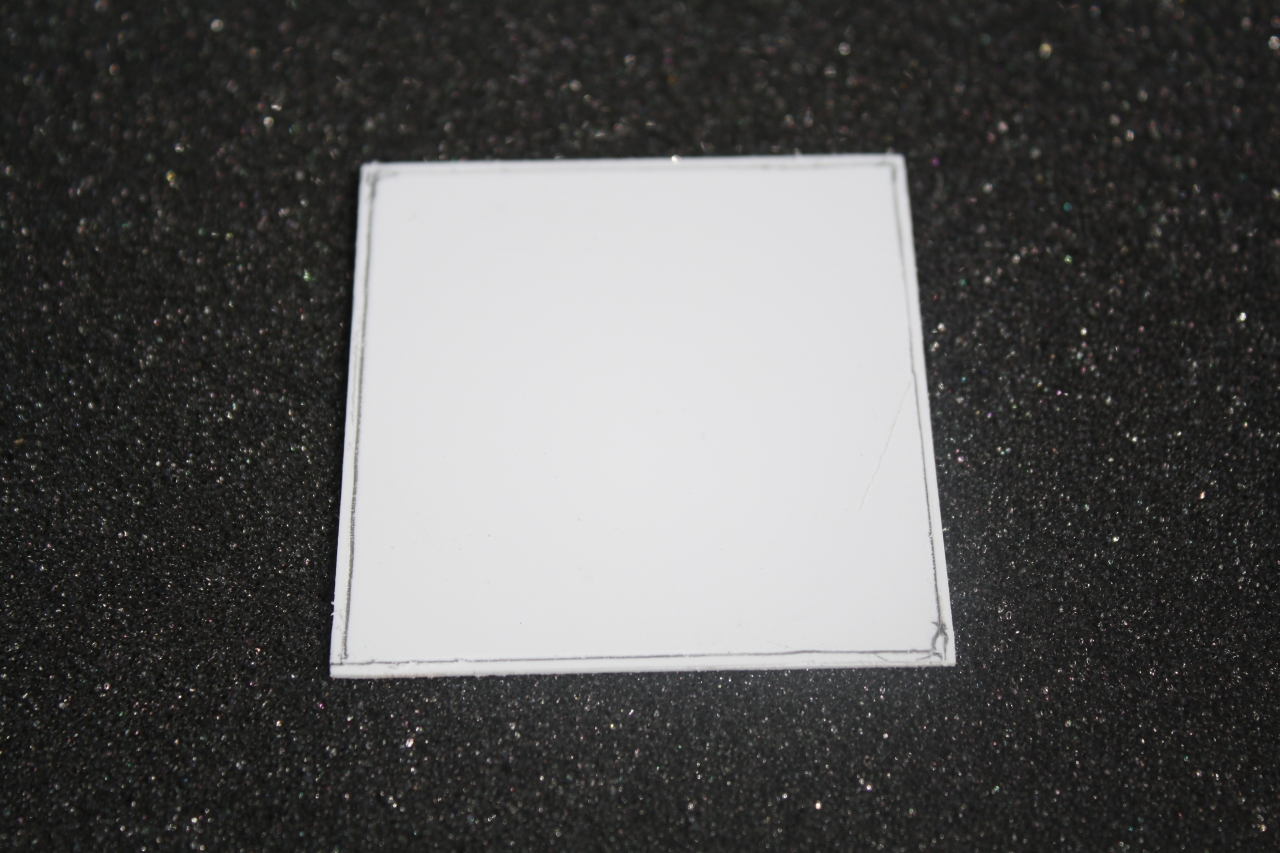
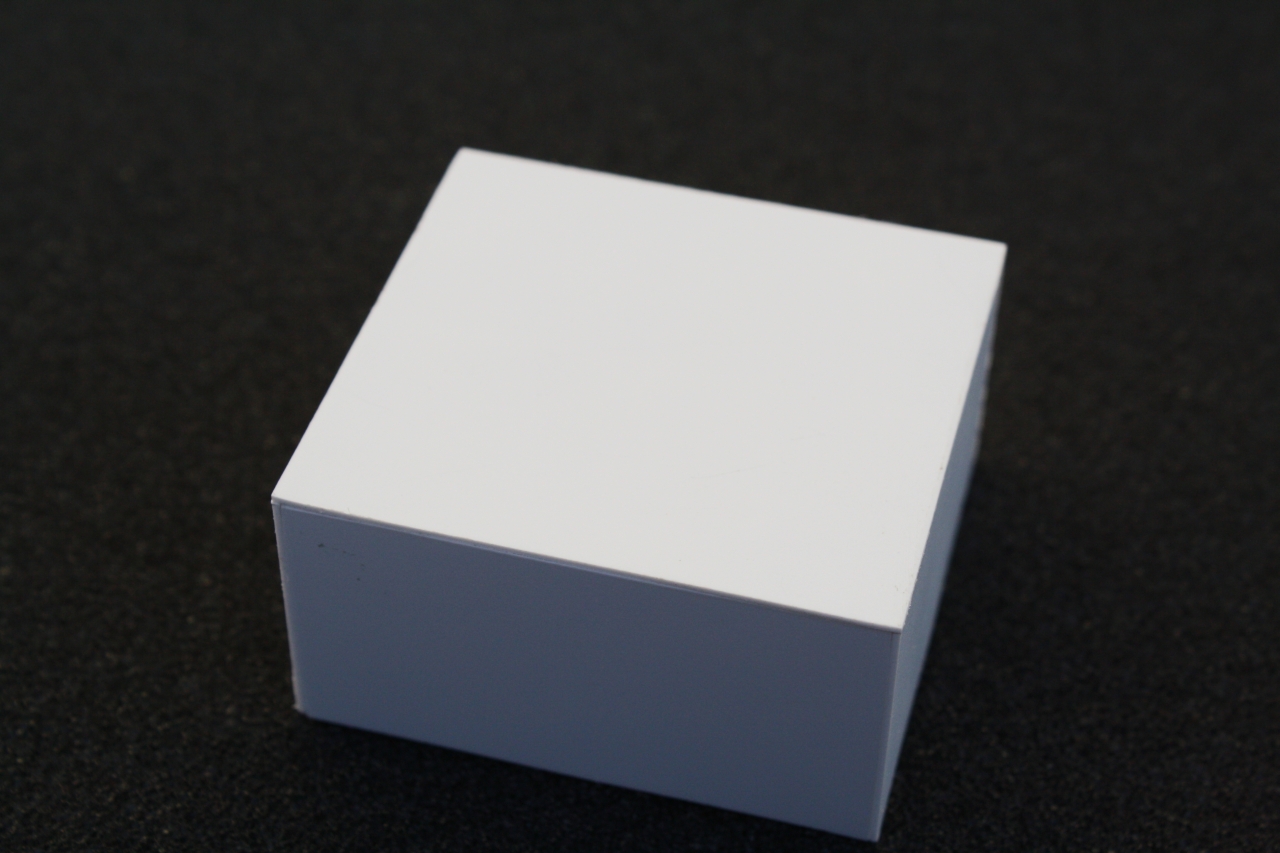
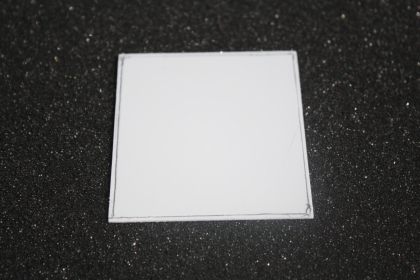
Completed "box," after putty and wet sanding.
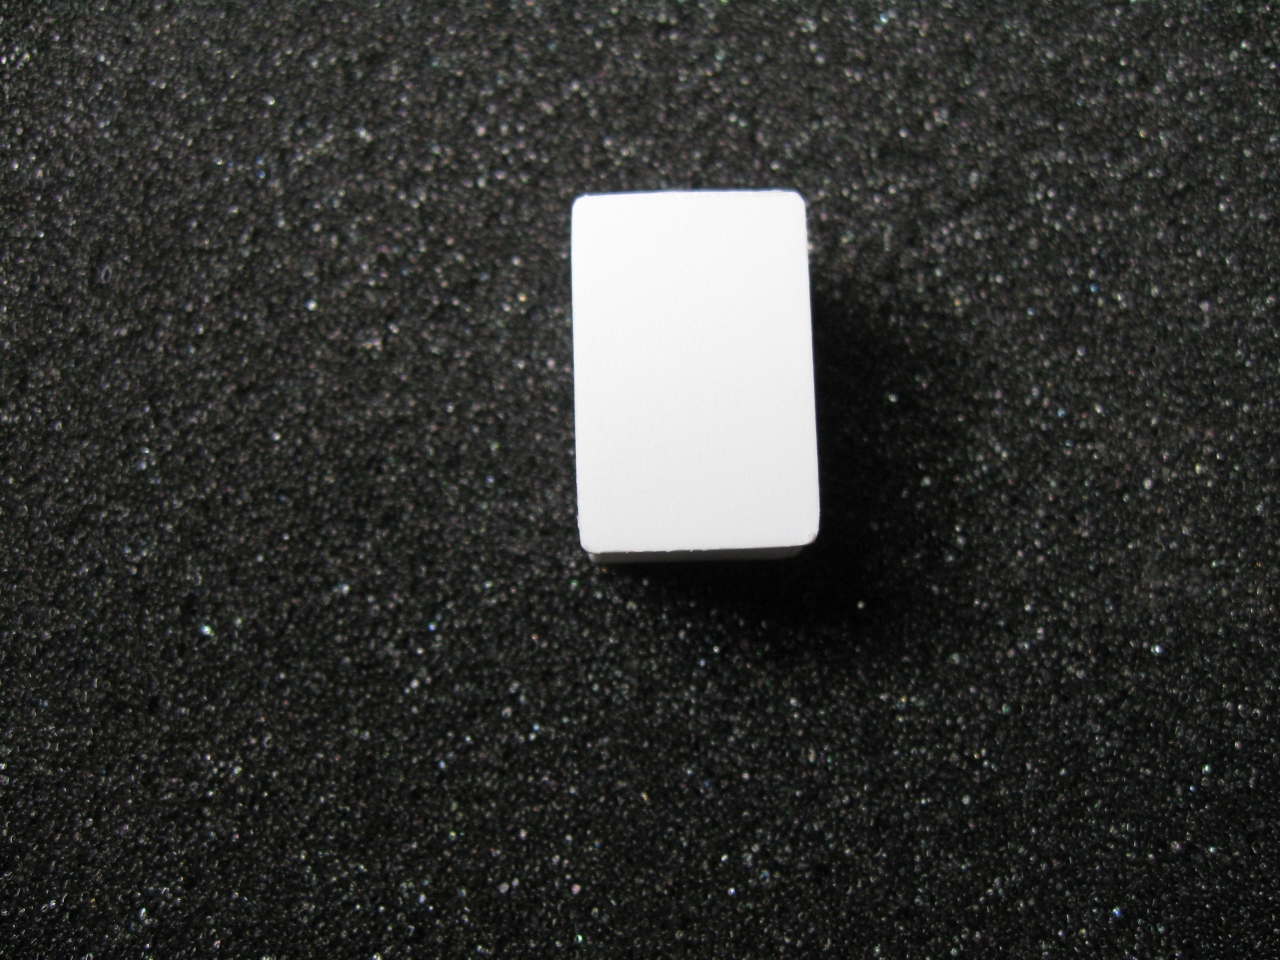
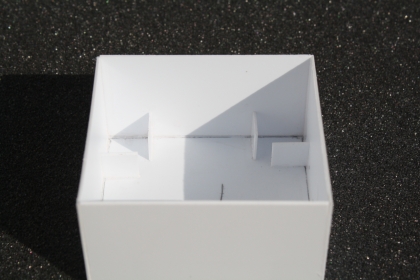
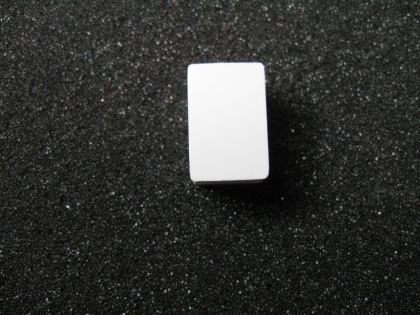
Control Panel.
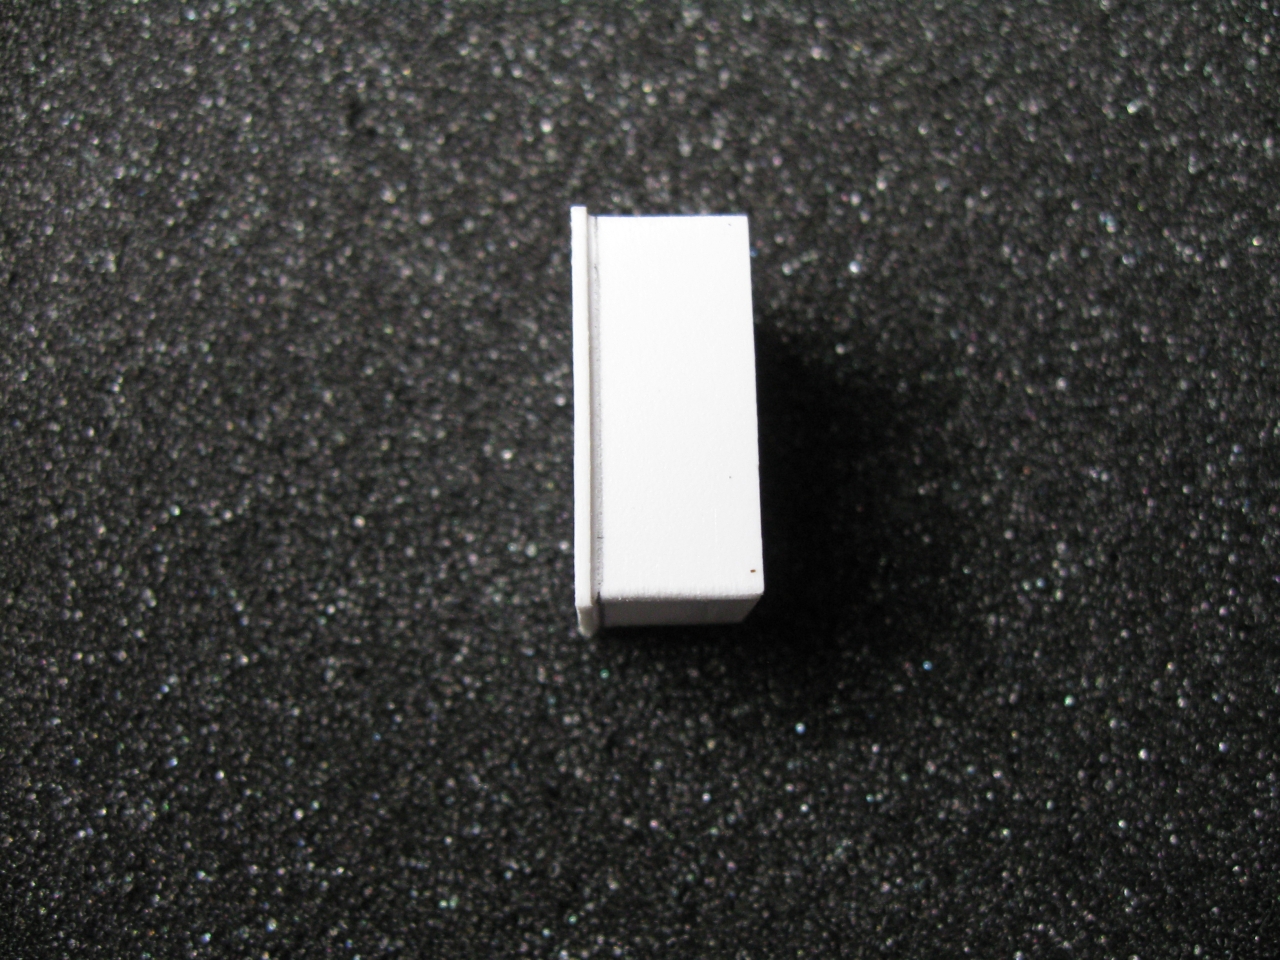
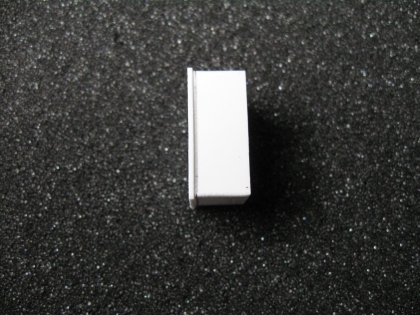
Control panel side. Norice that the front cover hangs ovet the sides of the control panel.
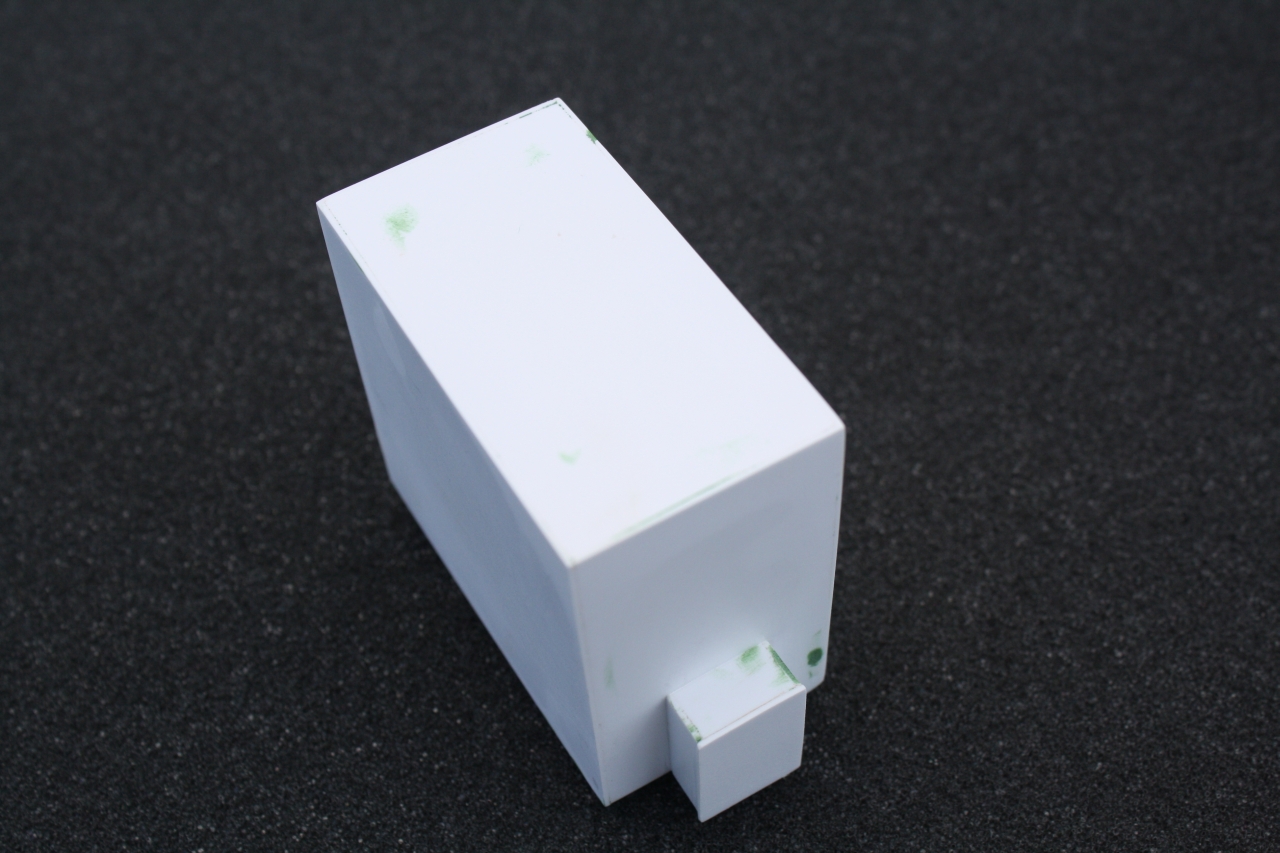
Attach control panel to the "box." Remember to drill a vent hole before you mount the control panel..
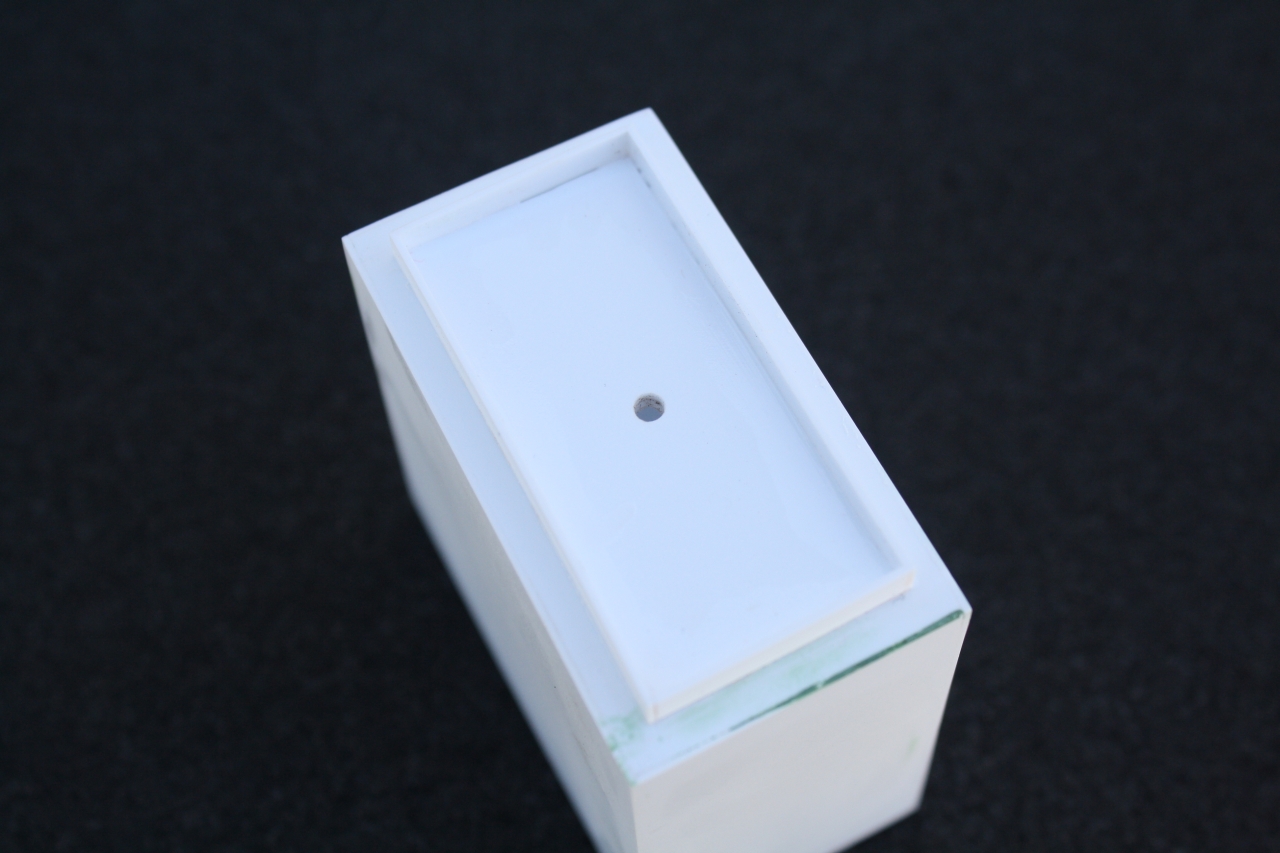
Build up the base, drill a vent hole in bottom of "box."
Build up fopr mounting, use a triangle file ot cut vent reliefs in the base.
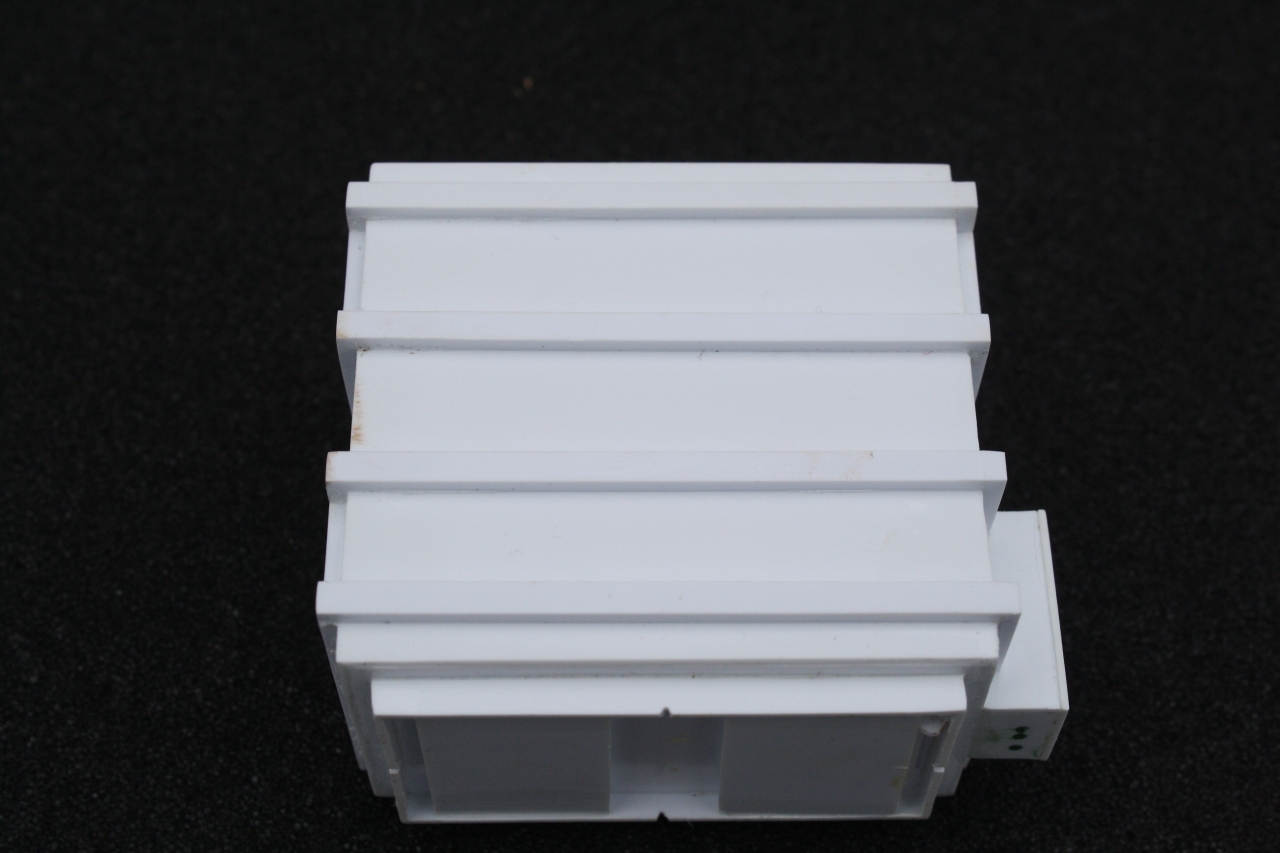
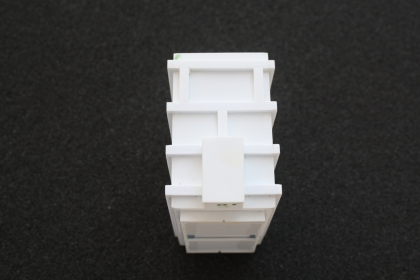
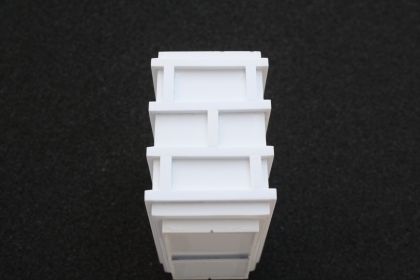
Building the bottom rib.
Building the bottom rib.

Building the bottom rib.

Building the bottom rib.
Building the bottom rib.

Building the bottom rib.
Building the bottom rib.
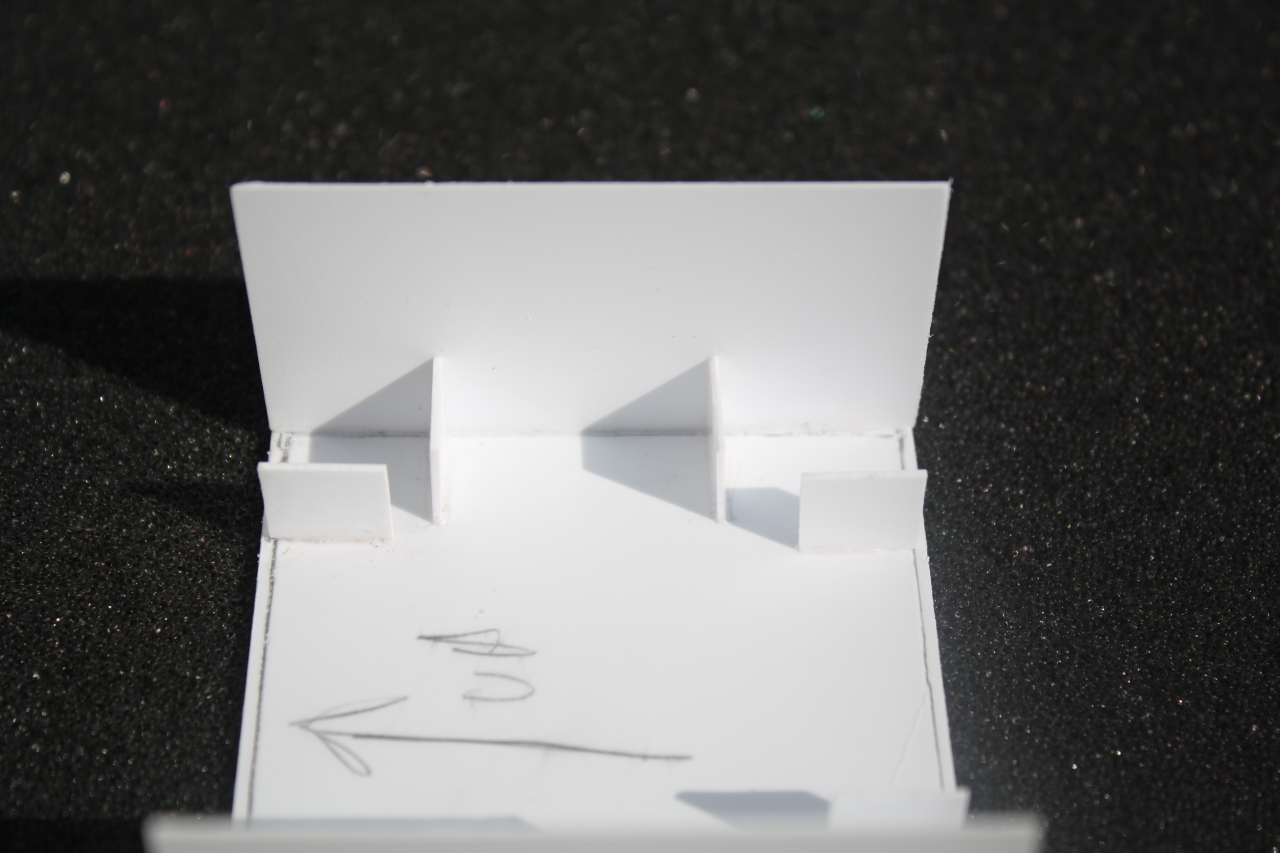
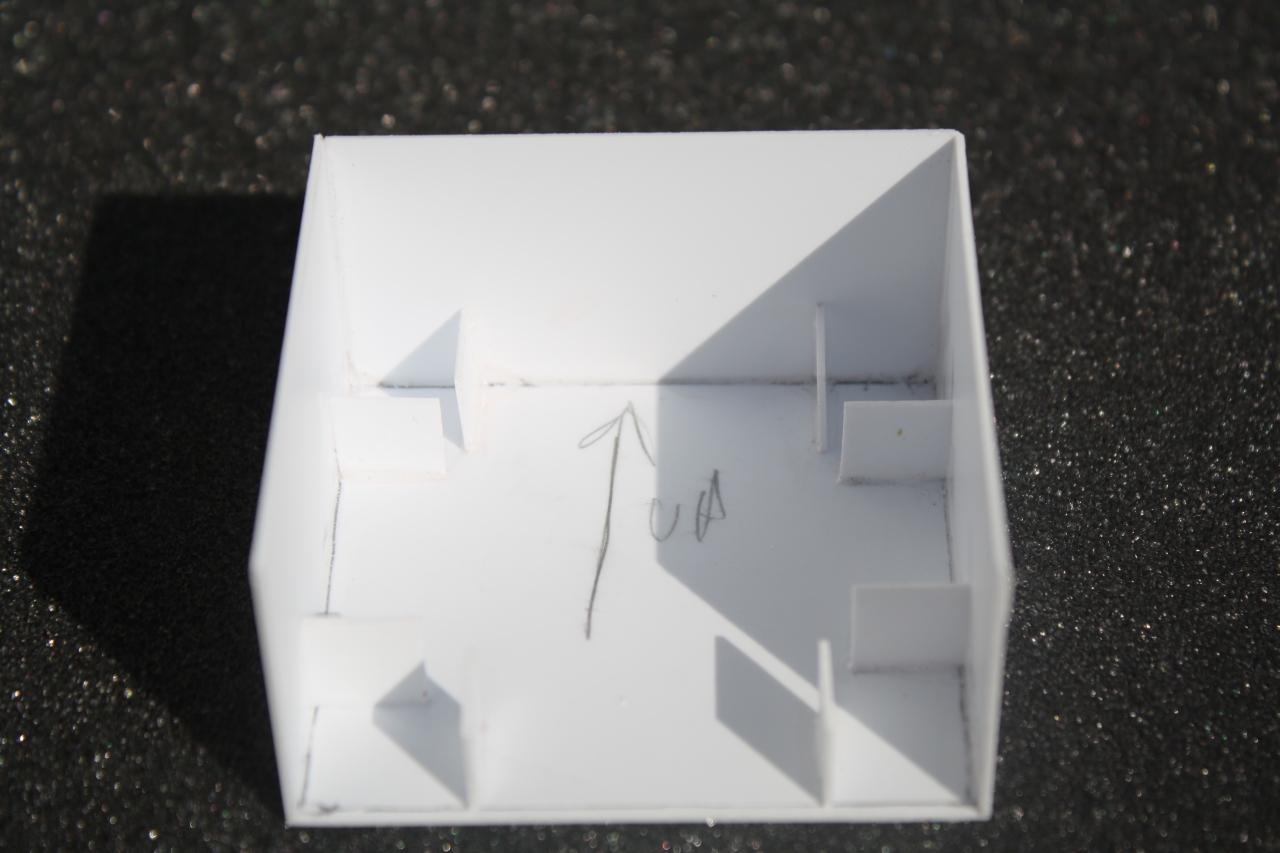
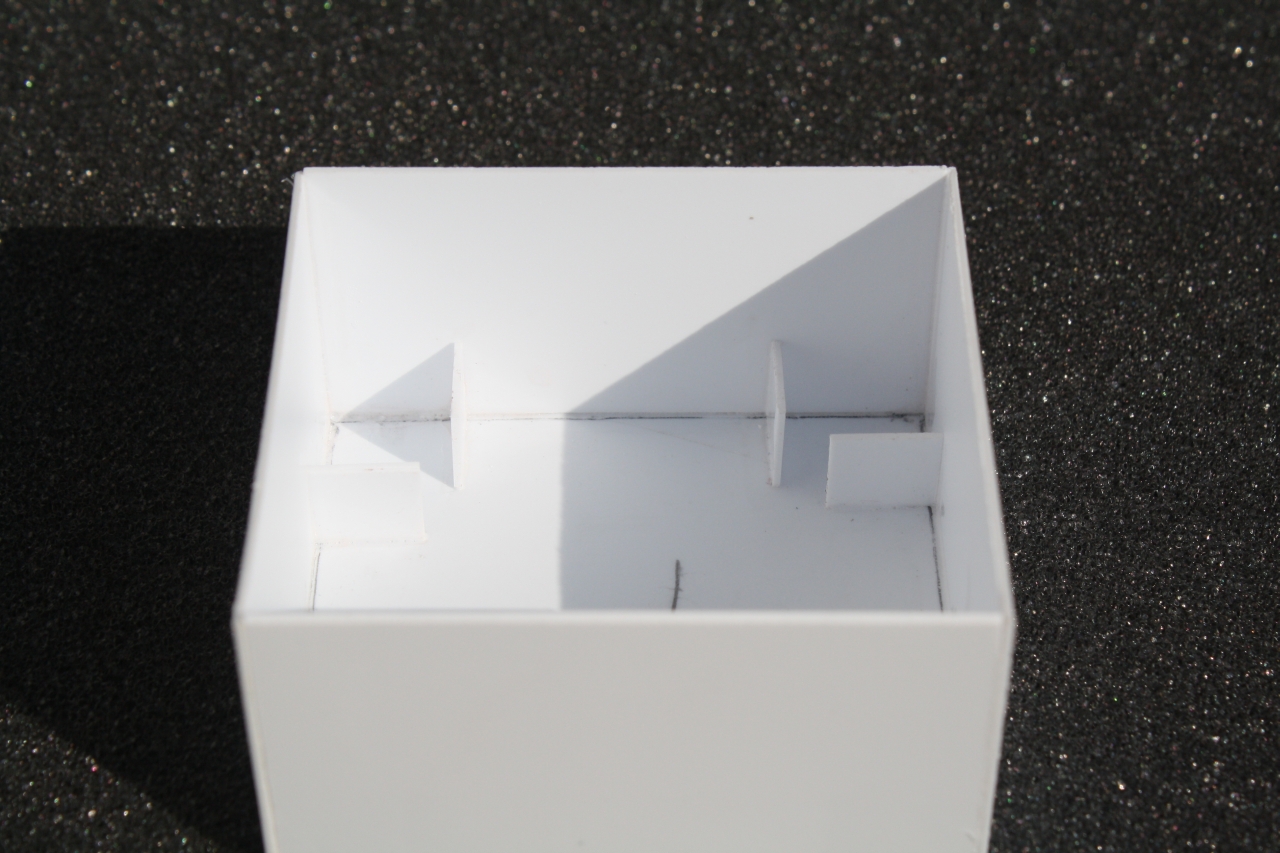
Install the front upright braces.

Install the rear upright braces.
Finished "box" - Use putty on ribs to fill any problem areas and wet sand - Be CAREFUL sanding around the control panel.
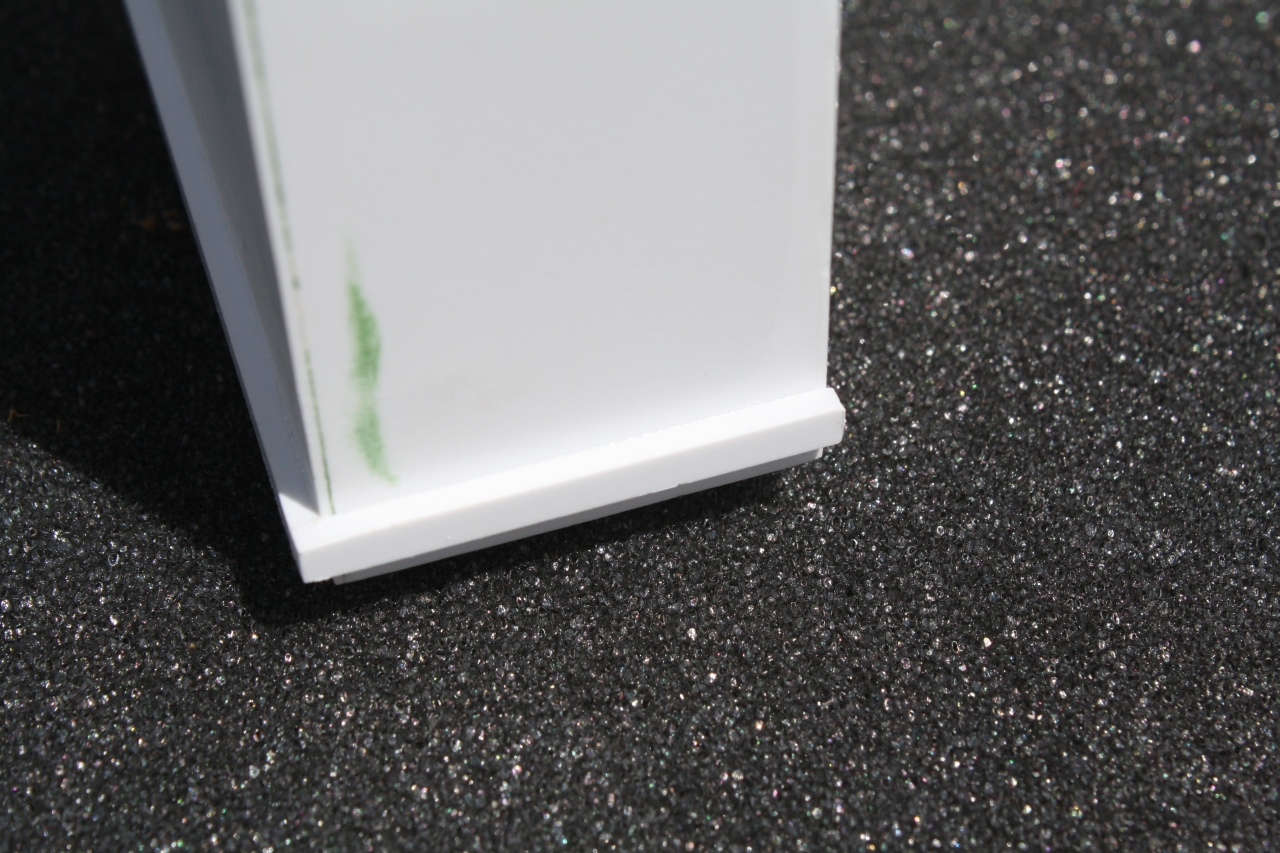
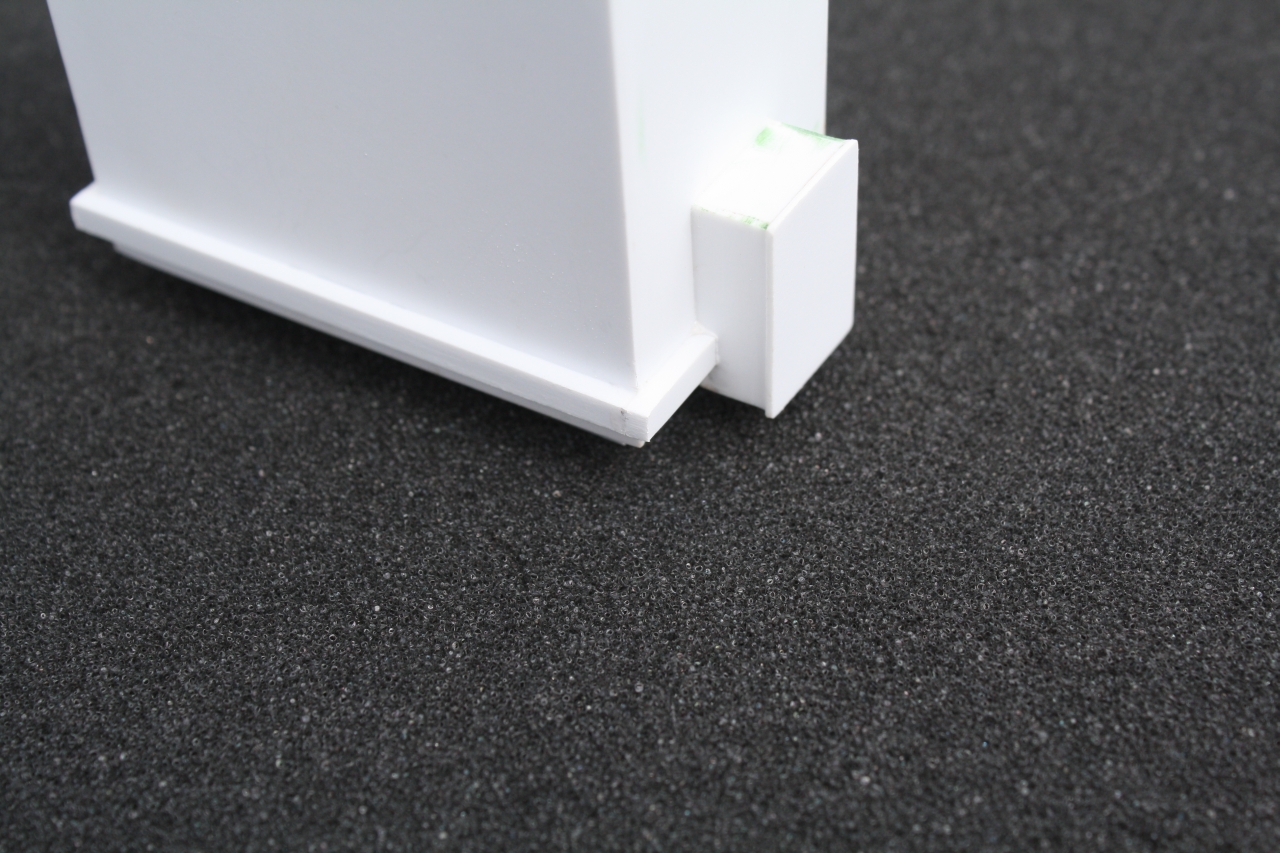
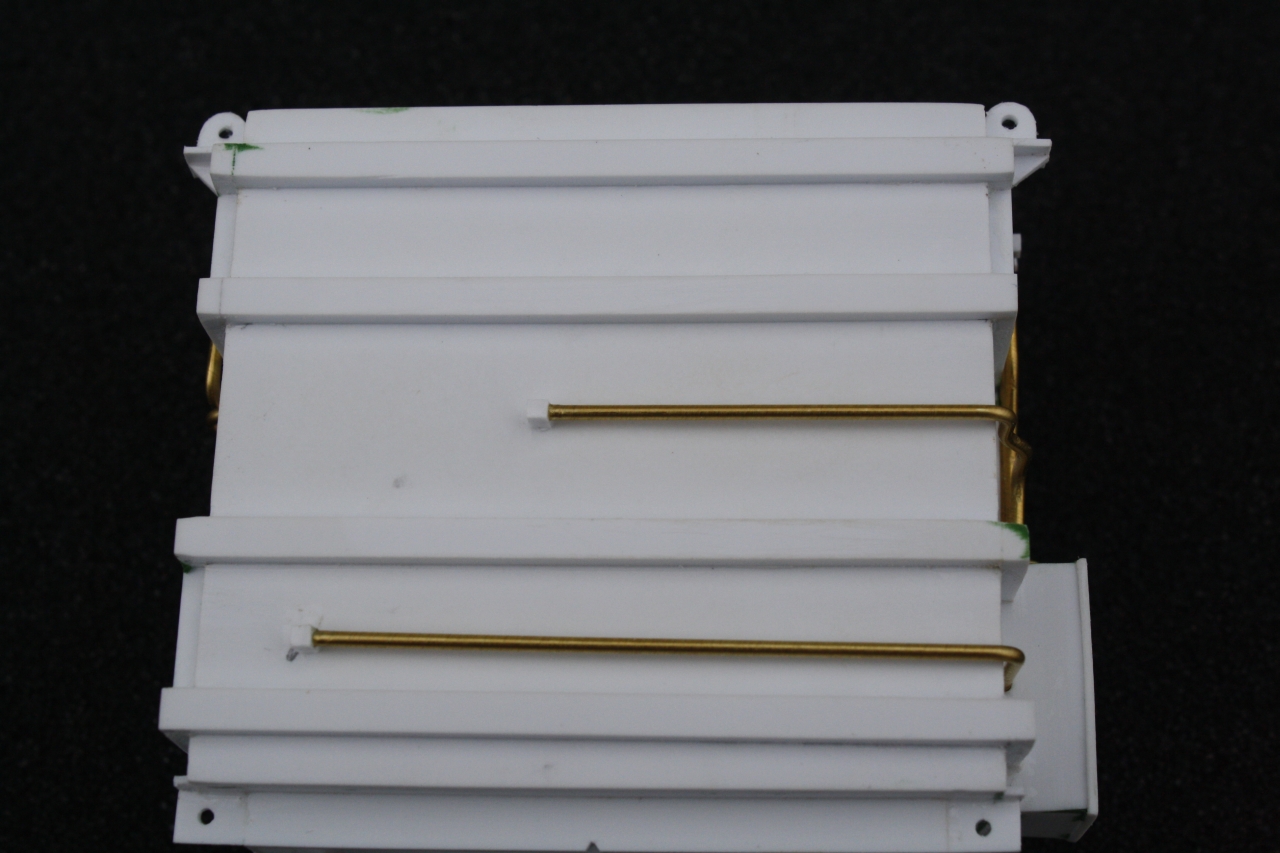
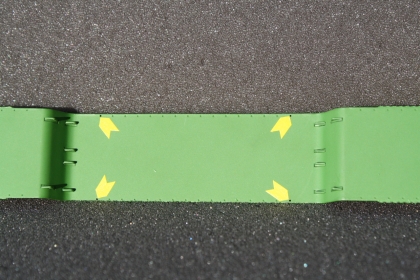
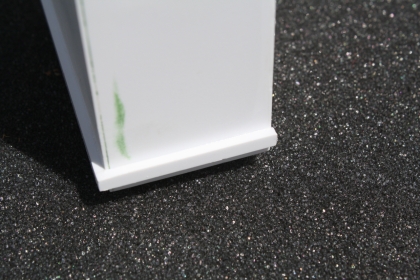
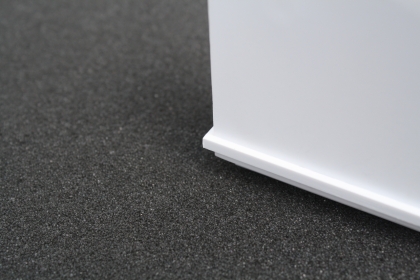
Bottom tie downs.
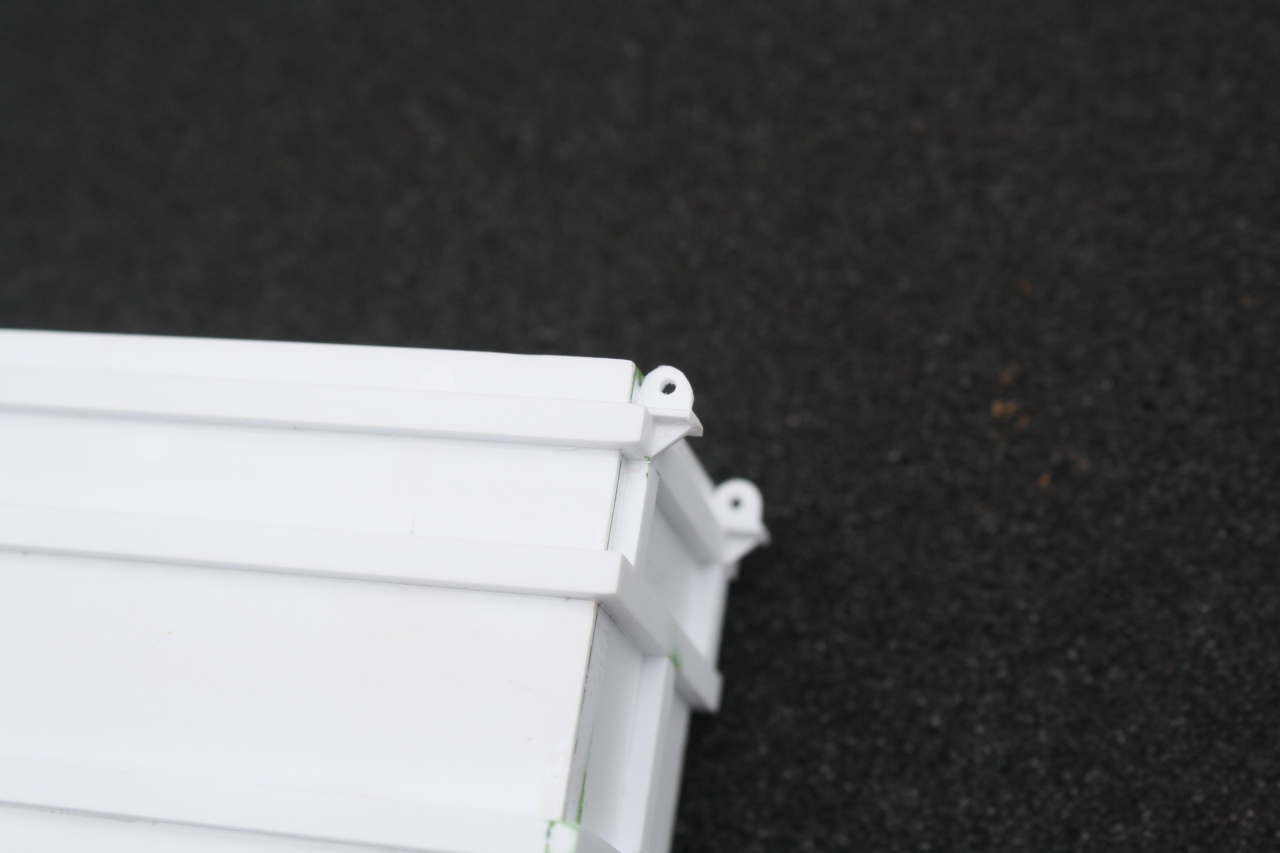
Lift rings.

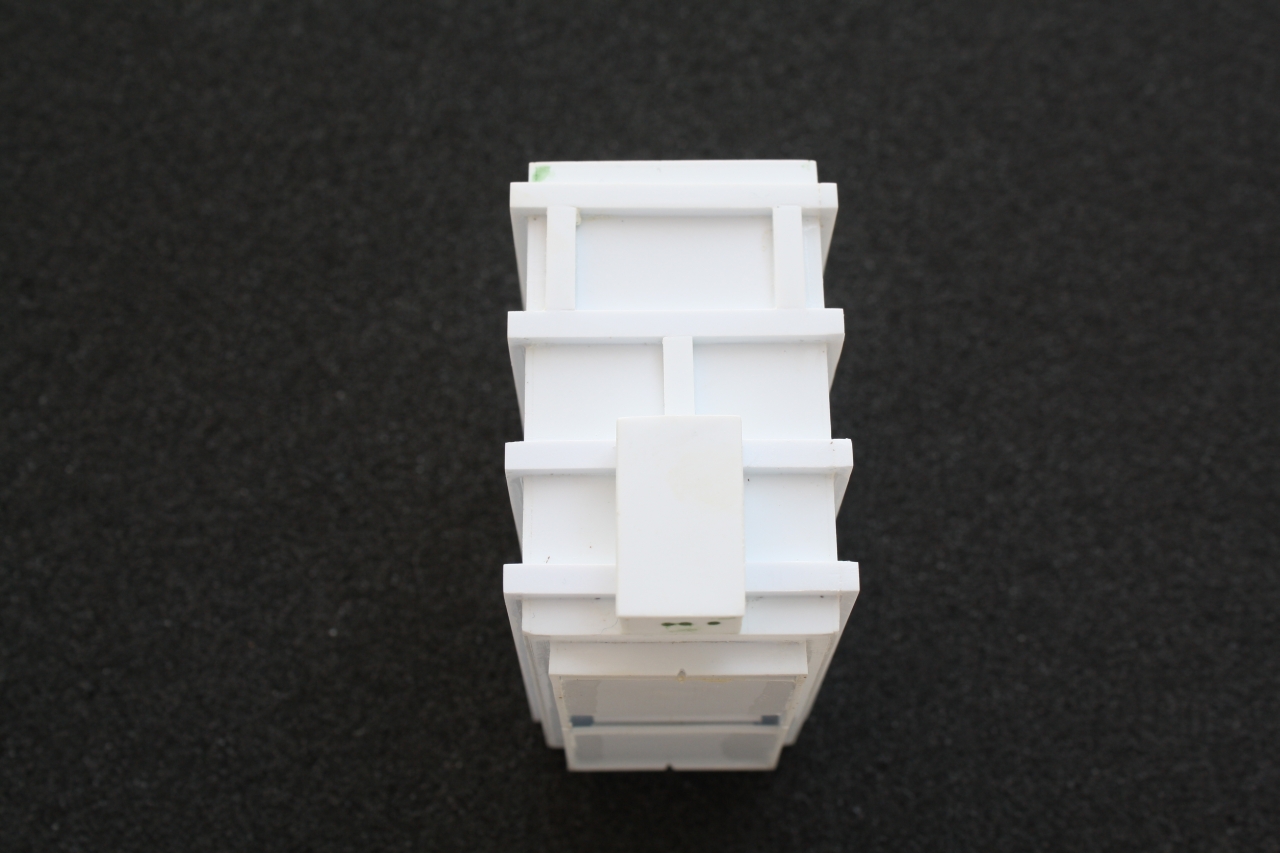
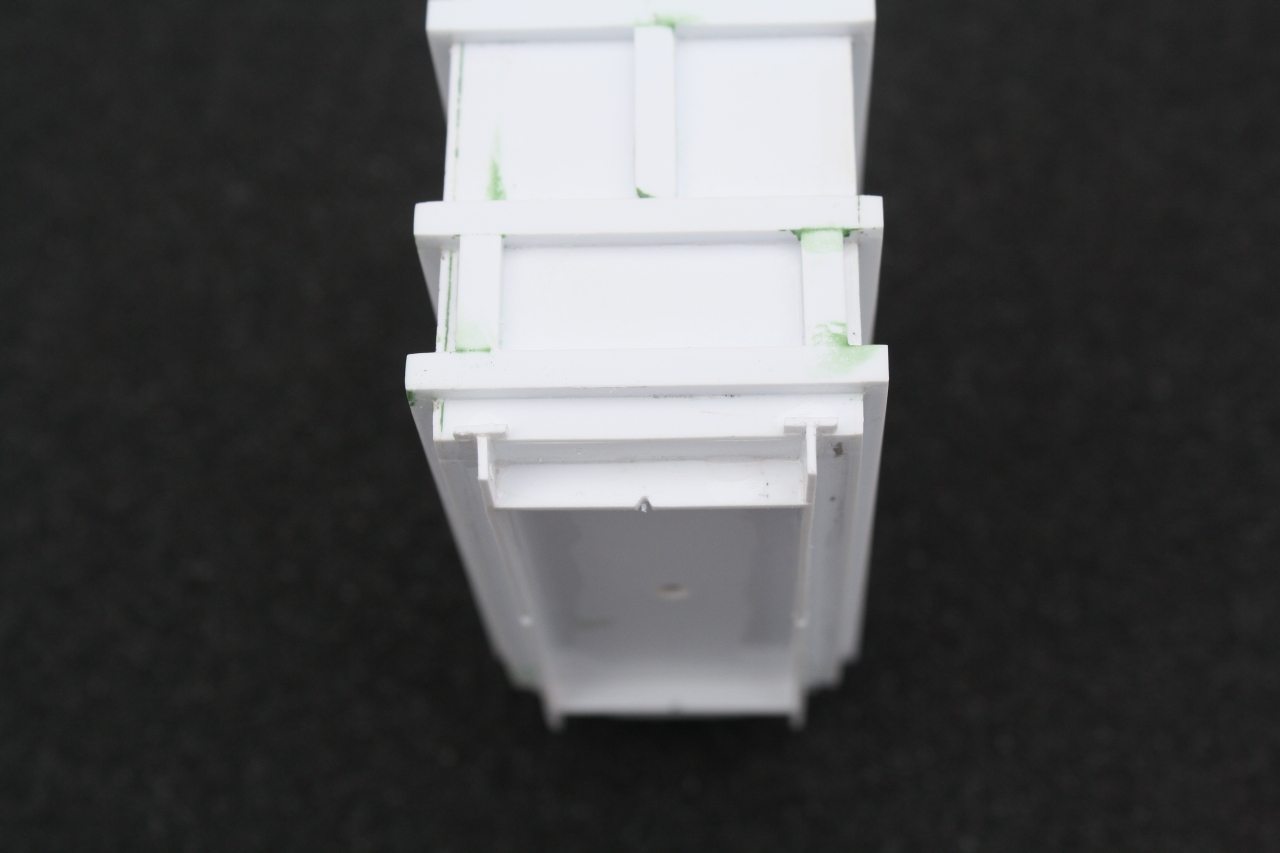
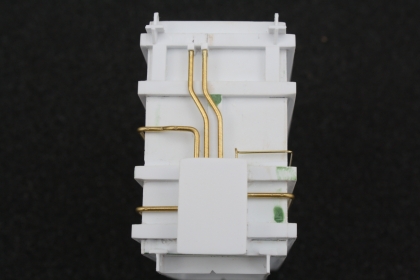
Conduit, panel end (front).
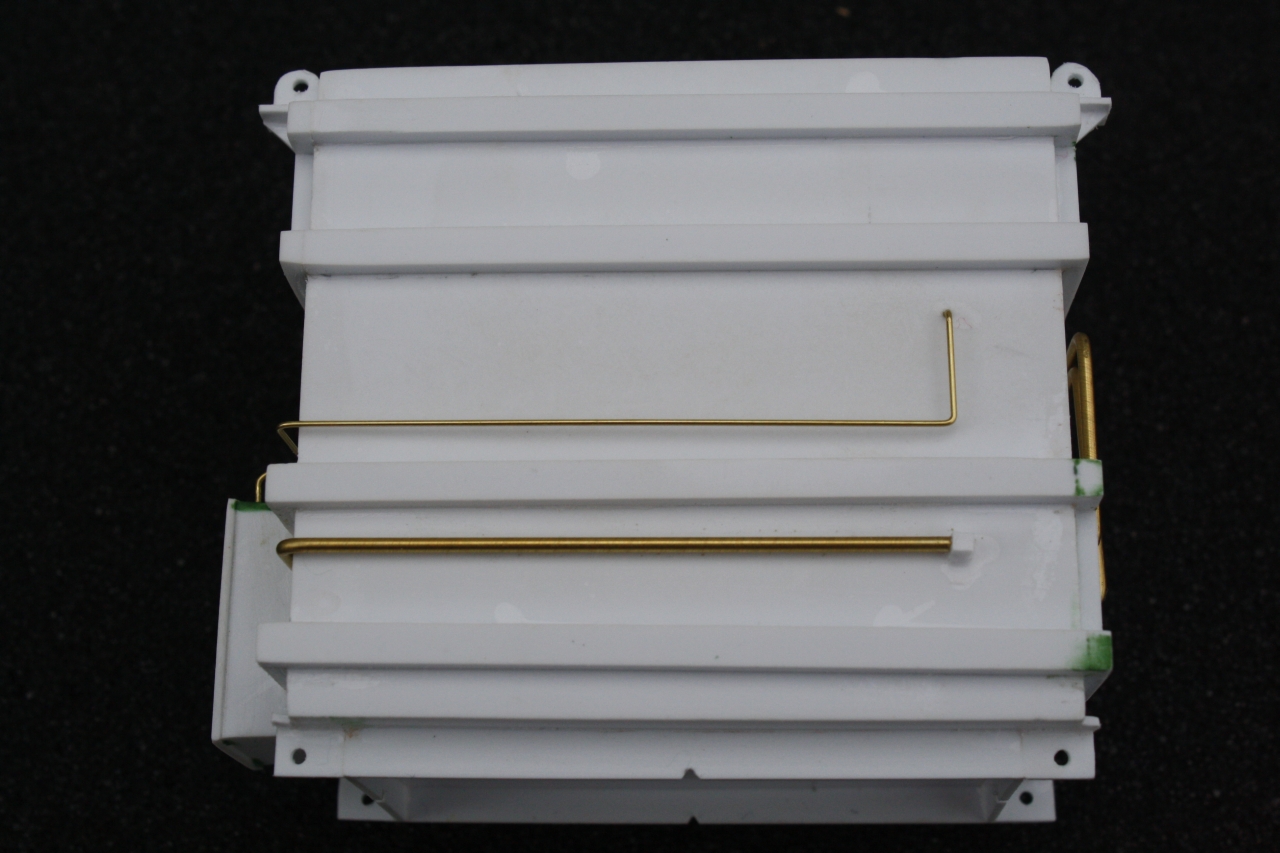
Conduit (right side).
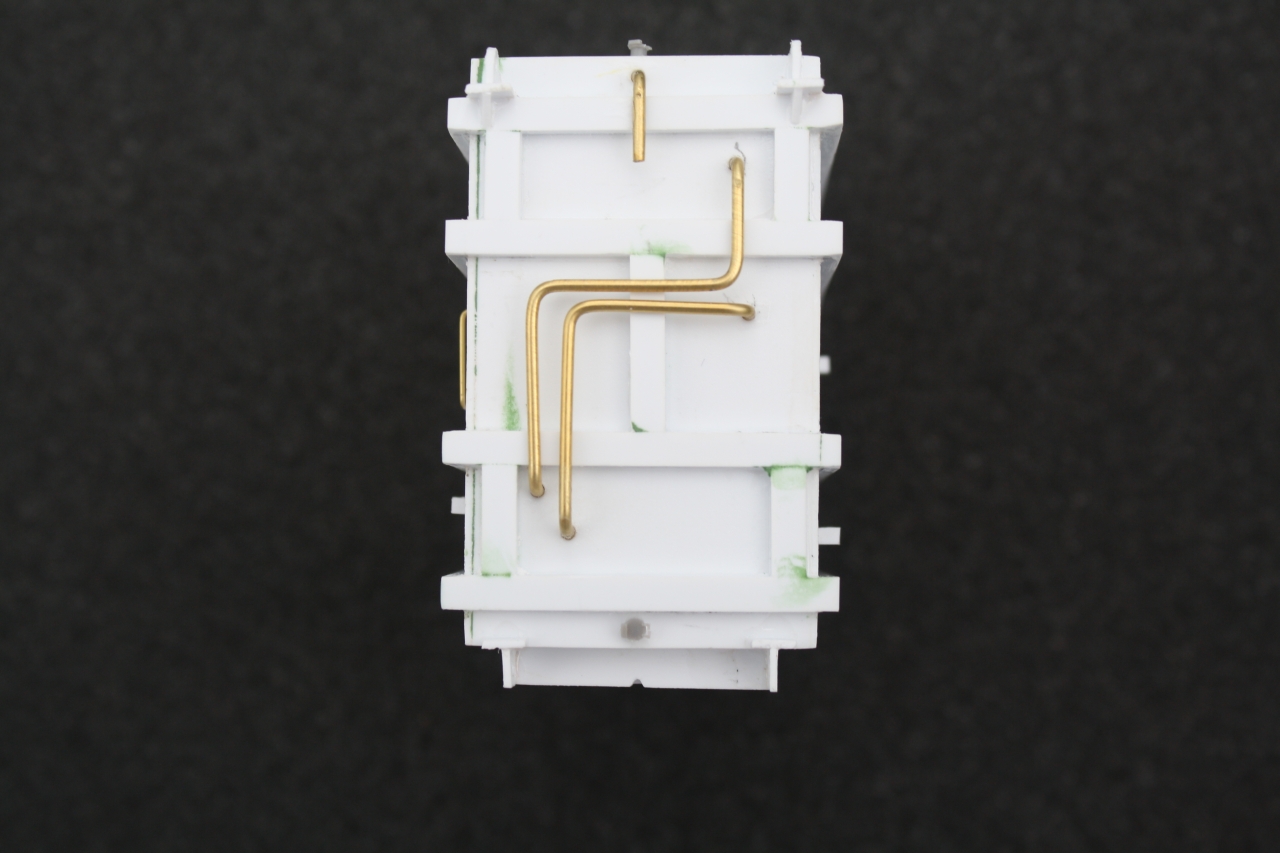
Conduit (rear) - notice oil drain on bottom, vent on the top of end, and oil filler on top.
Conduit (left side) - notice the lower tie down holes.
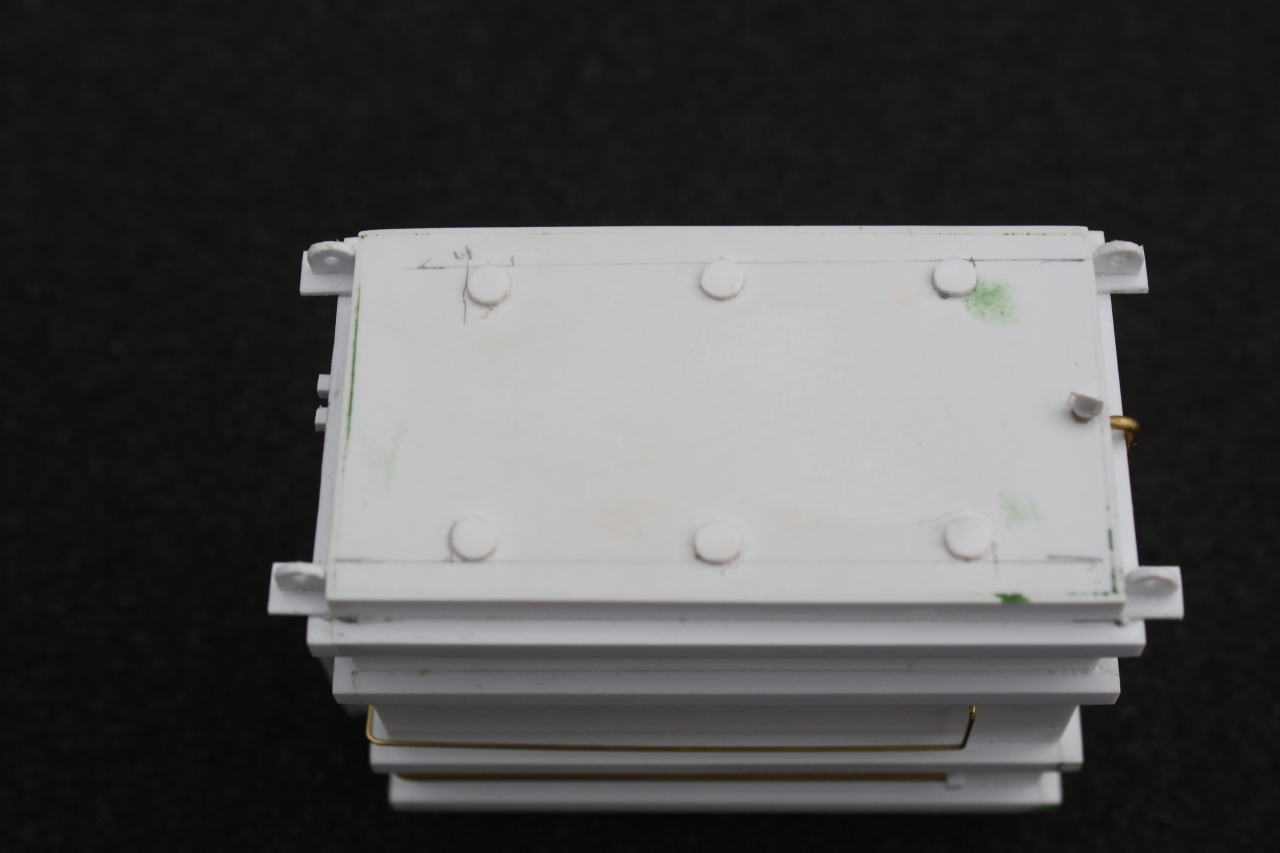
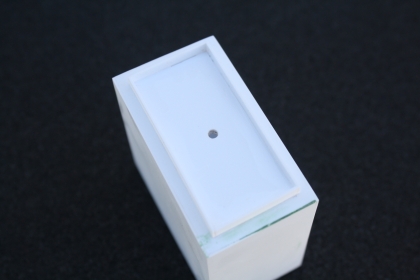
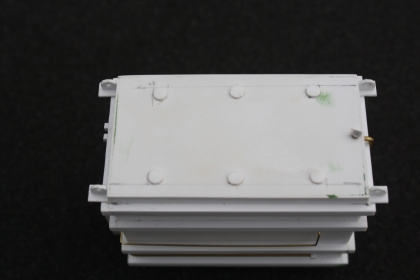
Top with covers and oil fill.

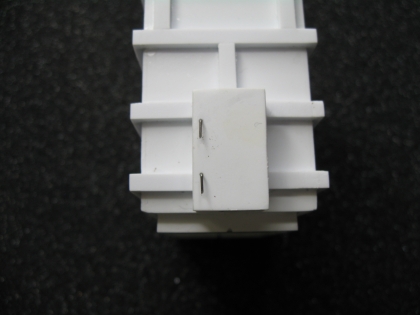
Install handles on control panel door.
Wash in warm soapy water.
Remove any large water spots with a papeer towel and set aside to dry.
paint transformer with Camouflage Gray and set aside to dry.
Paint oil fil and drain covers with Insignia Red.
Paint control pamel handles Flat Black.
After transformer is completely dry, paint with Dull Coat ansd set aside to dry.
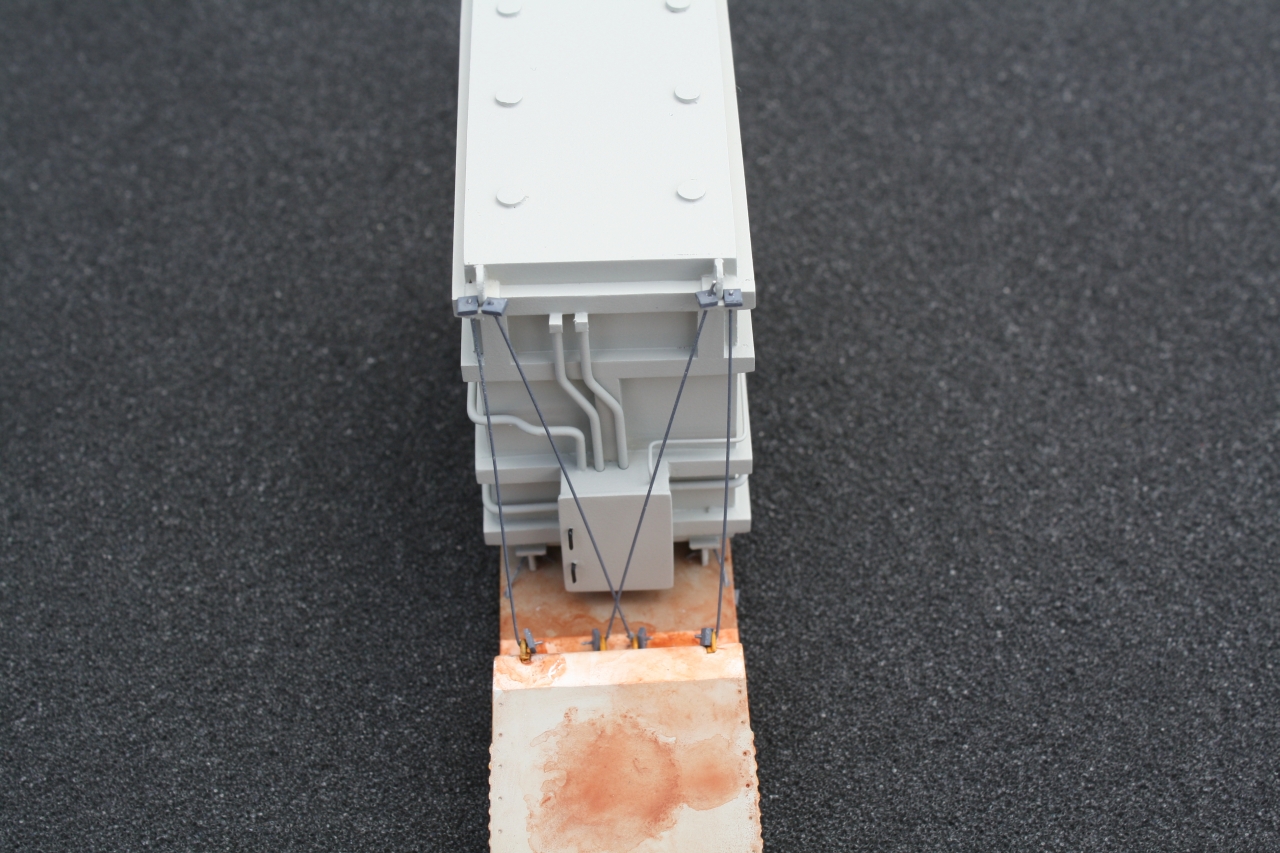
Tie downs (front).
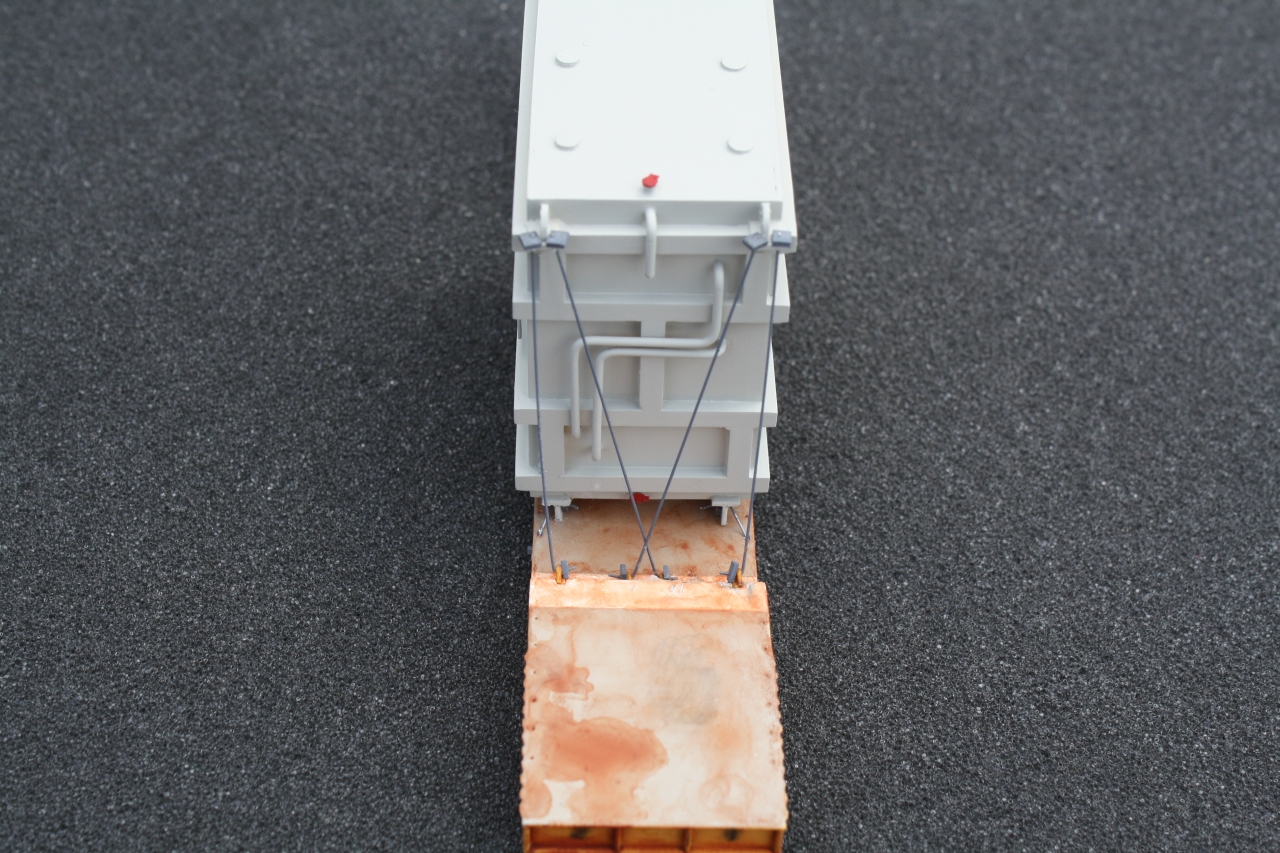
Tie downs (rear).

Lower tie downs.
Finished model (front).
Finished model (rear).
|
|
|
|
|
|
|
|
|
 |
|
|
|
|
|
|
Last update to this page was July 29, 2012